
Full 25-point door and opener safety check with every visit - springs, cables, rollers, tracks, and your LiftMaster or Chamberlain opener included
You get a price before we start. It does not change when the truck arrives.
Modern flush
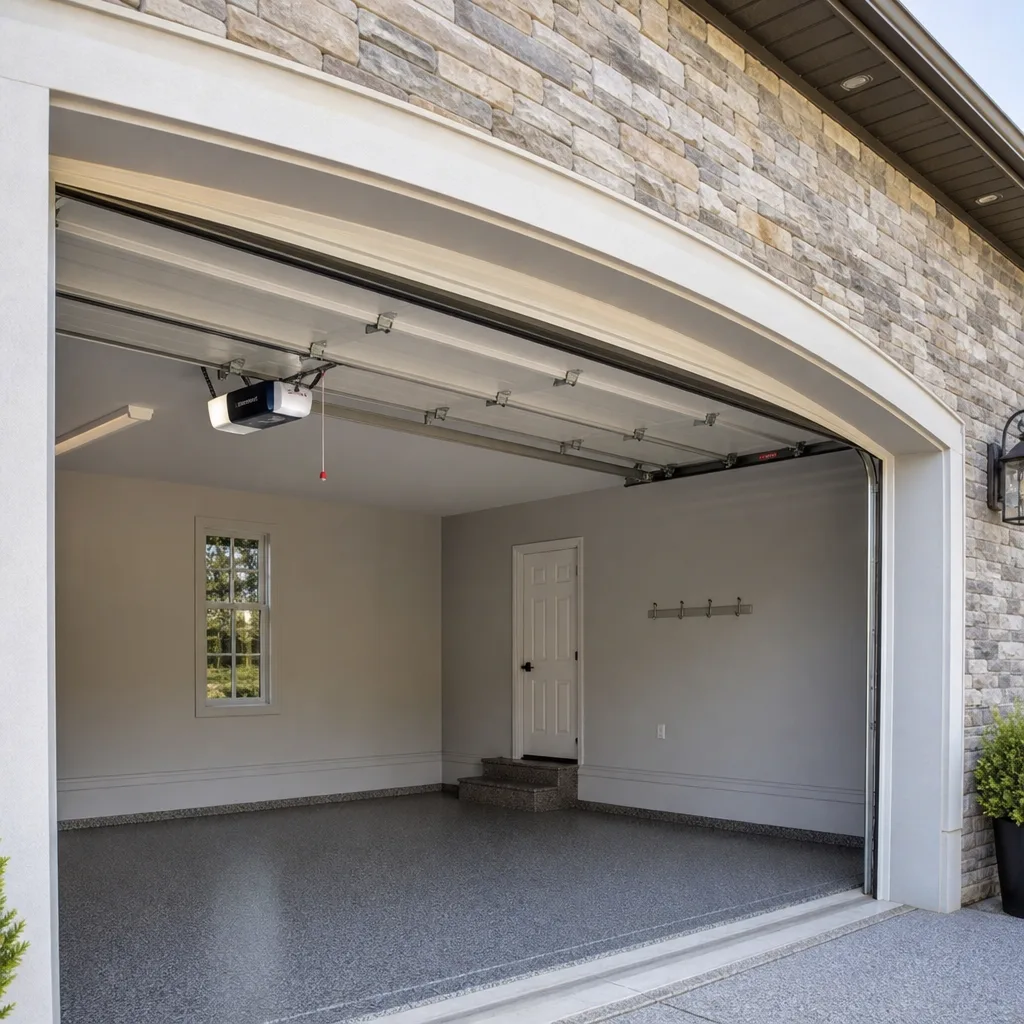
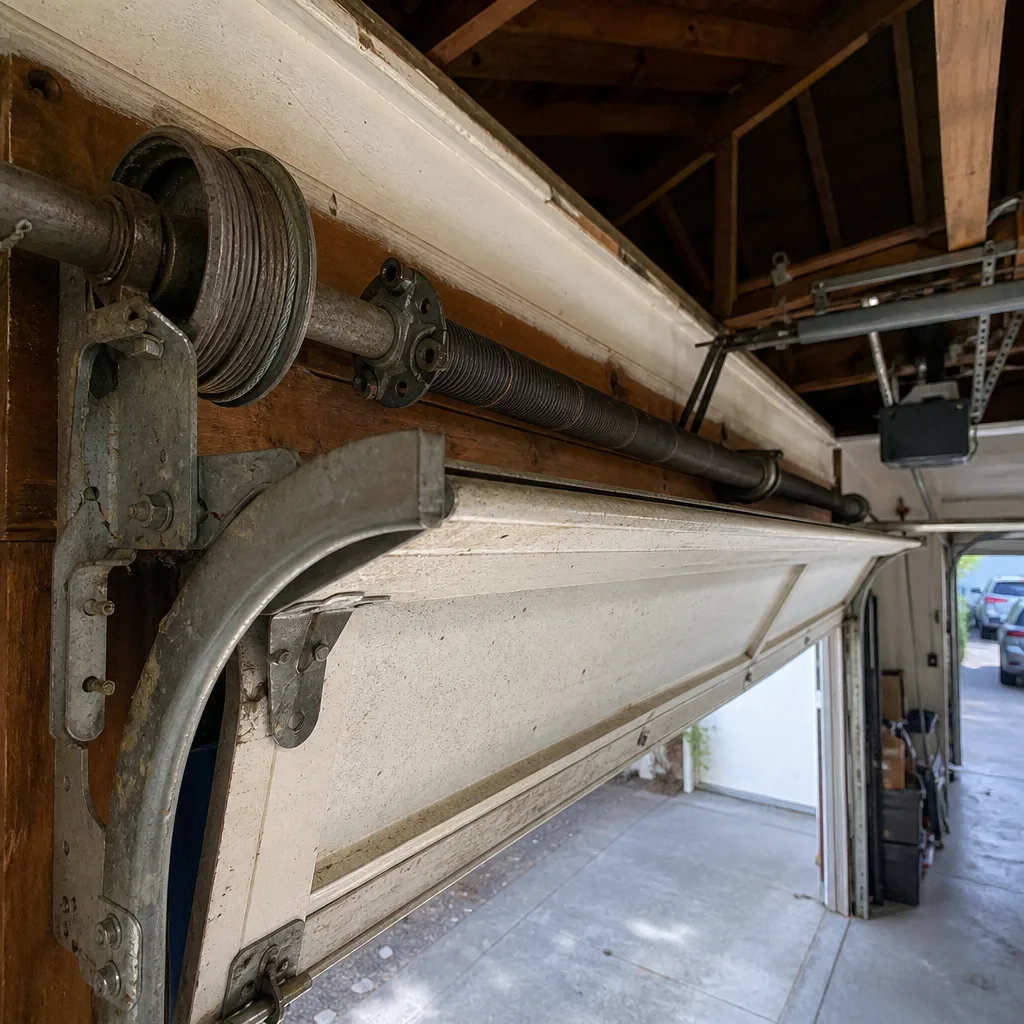 Before
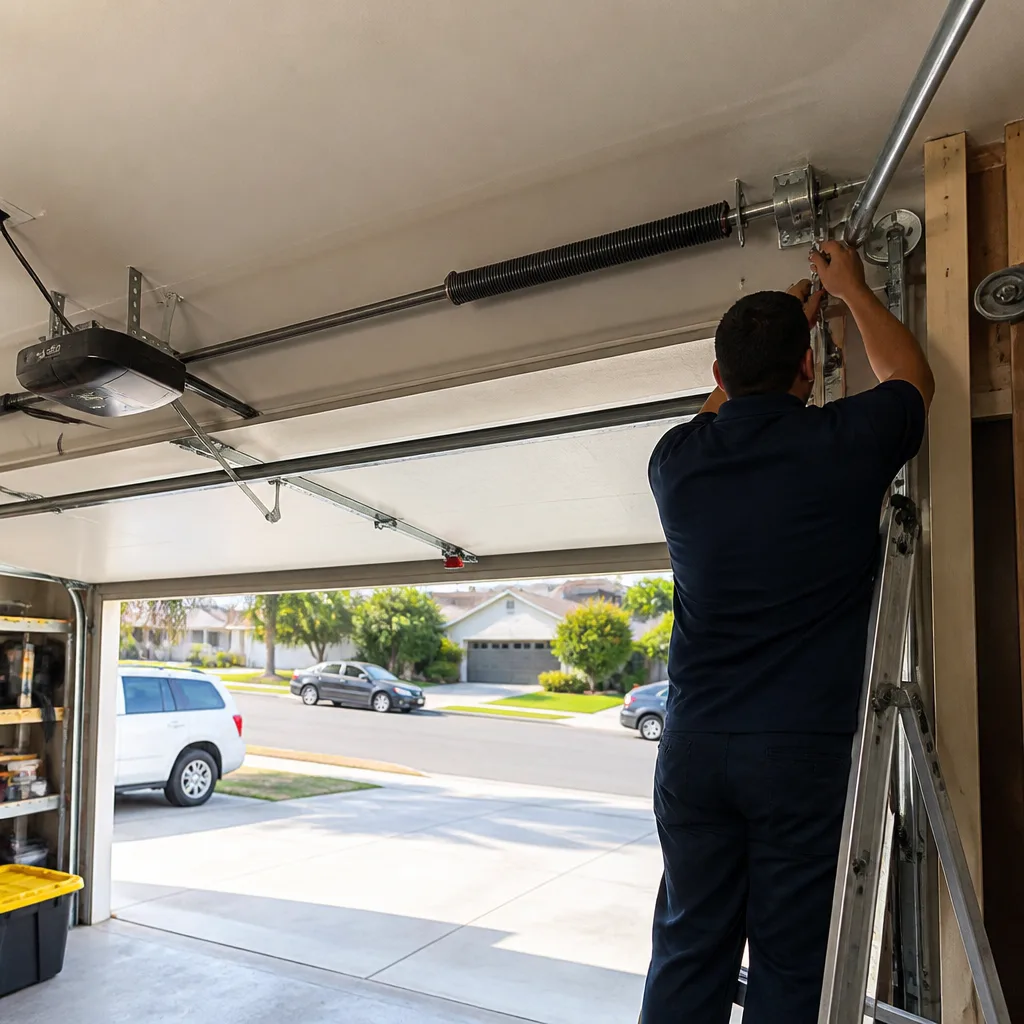 After
After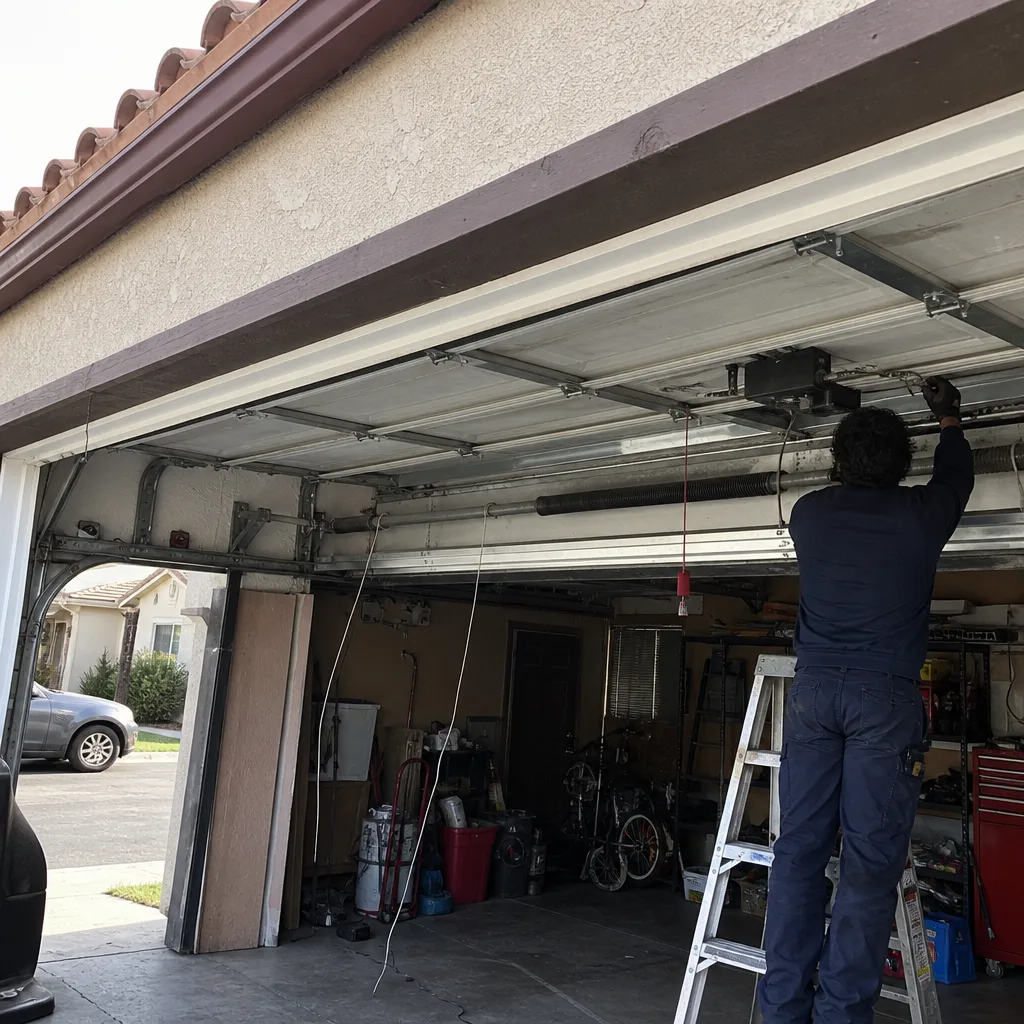 Before
 After
After Before
 After
AfterGenie Weather Seal Replacement: The Santa Ana Owner’s Guide
The bottom seal on a Genie garage door in Santa Ana typically costs $110-$220 installed, and we stock Genie-compatible weather seal on our trucks for same-day replacement in most cases. That’s the number we quote before the technician leaves our lot, and it’s the number you’ll see on the written scope before any work starts. You’ll usually discover this part has failed when you notice daylight under the door, a cold draft near the slab, or a stain line on the garage floor after the winter rains that come through Orange County between December and March.
Most Genie doors use a T-style or bulb-style bottom seal that slides into an aluminum retainer channel. Over time, the vinyl or rubber compound flattens, cracks at the corners, or tears away from the retainer entirely. In Santa Ana’s coastal-inland climate, that seal takes a beating from dry heat and UV exposure for eight months, then sits against wet concrete during the rainy season. The result is a seal that looks fine from across the street but fails at the corners first, exactly where water finds its way in. Marcus Deller has pulled enough of these off doors along the residential blocks near Centennial Park to know what a worn Genie seal looks like before he bends down to check it.
Here’s what matters if you’re reading this because your seal is gone: the part is specific to your door’s thickness and retainer style, the swap is usually done in under an hour, and the price is written before we touch anything. That’s Clause 1 of The Haven Standard, and it applies to a $110 seal replacement the same way it applies to a $2,200 door installation.
Which Genie Models This Applies To
Genie weather seals are not one-size-fits-all. The company has used several retainer profiles across their residential line, and the seal you need depends on what’s already riveted or screwed to the bottom of your door. Here’s where owners get tripped up: two Genie doors made five years apart can use entirely different seal profiles, even if they look identical from the street.
The most common configurations we see in Santa Ana:
- T-style seal: The seal has a T-shaped top that slides into a matching channel. This is the dominant design on Genie doors installed after roughly 2010. The T portion measures either 1/4 inch or 5/16 inch, and that measurement is what determines fit.
- Bulb-style seal: A round, hollow tube that compresses against the concrete. Common on older Genie doors and still available as an aftermarket replacement.
- P-style or flap seal: A lip that folds against the floor. Less common on Genie specifically, but we see it on garage-to-house transitions.
If you’re ordering the part yourself, check the bottom of the door for a manufacturer label with the door’s model and serial number. Genie puts that label on the inside face of the door, usually near a corner or on a vertical stile. But the simpler route is to pull a piece of the old seal out of the channel and bring it to us, or take a photo of the end profile and send it over. We match it against what we stock.
On the OEM-versus-aftermarket decision: Genie-branded weather seal is solid and made to their spec, but several aftermarket manufacturers produce equivalent T-style and bulb seals that meet or match OEM tolerance at a lower price. We stock both and will tell you the difference in cost, in writing, before you decide. For most Genie doors in Santa Ana, the aftermarket T-seal is the sensible pick. The failure mode is UV and compression, not brand stamping.
One compatibility gotcha worth knowing: Genie doors with a double-channel bottom retainer sometimes hold a seal that looks like a standard T-style unit but measures 3/8 inch at the T. If you buy a 1/4-inch seal and try to force it in, you’ll get daylight gaps and the seal will walk out of the channel within weeks. Measure before you buy. That’s the kind of detail we check on-site before we quote a number.
Signs Your Genie Weather Seal Replacement Is Failing
- Daylight under the door: Close the door and crouch at floor level. If you can see light between the seal and the concrete, the seal is compressed or torn. This is the easiest confirmation and it works best in the afternoon sun we get on the north side of Santa Ana.
- Water staining near the door joint: After rain, check the slab right inside the garage door. A wet line or mineral staining means the seal is letting rainwater weep in. This is the classic complaint we hear after a Santa Ana storm front, especially on west-facing doors.
- Drafts or temperature swings in the garage: If your garage feels noticeably warmer than outside in summer, or colder in winter, the bottom seal is not the only insulator, but it is the biggest one. The gap between slab and door is where most air moves.
- Visible cracks, flat spots, or tears in the seal material: Vinyl and rubber both harden with age. Get down and run your hand along the bottom edge. If the seal feels stiff, shows surface cracks, or has pulled away from the retainer at the corners, it’s past the point of cleaning and needs replacement.
- Pest sign or debris just inside the door: Ants, earwigs, and the Santa Ana leaf litter find their way under a worn seal. If you’re sweeping more debris from the front of the garage floor than you used to, check the seal before you check the weatherstripping on the side jambs.
BeforeAfterReplacement Cost & What’s Included
In Santa Ana, a Genie weather seal replacement runs $110-$220 installed through us. The range accounts for seal profile (T-style vs. bulb vs. P-style), door width, and whether we’re replacing just the seal or the aluminum retainer channel too. A 9-foot-wide single door sits at the lower end. A 16-foot double door with a corroded retainer sits at the upper end.
Here’s what that number includes:
- The correct Genie-compatible seal matched to your retainer profile
- Removal of the old seal and debris from the channel
- Installation of the new seal, trimmed square to the door edge
- A written price and written scope before any work begins, per Clause 1 of The Haven Standard
- A documented photo record of the old seal, the new seal, and the completed install
- The 365-Day Done Right Promise on the work
We do not charge a separate service call fee for a weather seal replacement. The price we quote is the price you pay. If we quote replacement of the retainer channel as part of the job, the written scope will show that as a separate line item with its own number, so you know exactly what each piece costs and why.
One note for Santa Ana homeowners with older attached garages: if the door bottom is steel and sits in a low spot in the slab, we may recommend a seal with a thicker bulb or flap profile to compensate. The goal is a seal that contacts the concrete evenly across the full width. We photograph that contact line before we leave, and you get the photo.
DIY or Call Us?
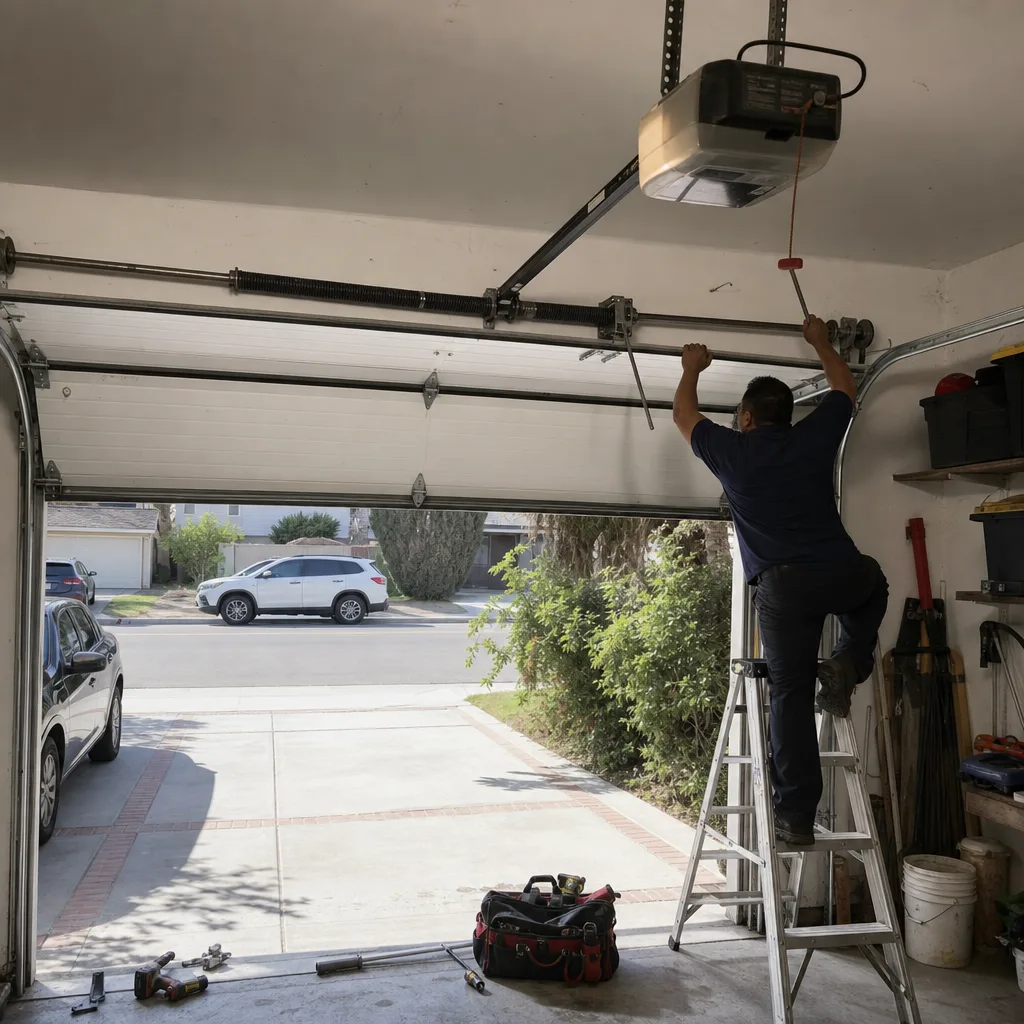
Replacing a Genie weather seal is one of the few garage door repairs that a competent homeowner can safely handle without specialty tools or spring tension risk. If your seal has torn and you can slide the old one out of the retainer channel and slide a new one in, that’s genuinely doable in under thirty minutes with a pair of snips and some patience. We’ll tell you that straight.
What goes wrong in the DIY route is almost always the measurement. The wrong T-width, the wrong retainer style, or a seal cut too short at the corners means the job looks done but leaks through the winter. The other thing that goes wrong is the retainer channel itself: if it’s bent, corroded, or has pulled away from the door bottom, sliding in a new seal won’t fix the leak. You need the retainer addressed, and that’s where a trained technician saves you the round trip.
If you’d rather have it measured, matched, installed, and photographed in one visit, call us at (949) 569-5253. We’ll quote the range on the phone, confirm the price in writing on-site, and you’ll leave with a documented record of what was fitted and why. No upsell, no urgency. Name the part. Quote the range. Then we start.
FAQs
In Santa Ana’s climate, a Genie bottom seal typically lasts 4-7 years. The combination of dry summer UV exposure and wet winter concrete accelerates hardening and edge wear. If your door faces west or southwest, expect closer to 4 years. Call (949) 569-5253 if you want a written quote on replacement.
No. Once the seal material cracks, flattens, or tears, patching it creates weak points that leak and snag. Weather seals are a replacement part, not a repairable component. The good news is that replacement is among the least expensive garage door repairs we do in Santa Ana. Call (949) 569-5253 and we’ll give you a straight price range before we set the appointment.
Most Genie weather seal replacements take 30-60 minutes on site. If the retainer channel also needs replacement, plan for up to 90 minutes. The written scope you get before we start includes a time estimate, and the documented photo record we hand over at the end shows the work as it was completed. Call (949) 569-5253 if your seal is failing and you want it fit into a service window that works for you.
Yes. We carry T-style, bulb-style, and P-style weather seal in the common Genie profiles, along with replacement aluminum retainer channel. If your door uses a less common profile or a double-channel retainer from an older Genie model, we’ll note it at the quote stage and schedule the return once the part is in hand. Either way, you’ll know the price before we order anything. Call (949) 569-5253 to check stock and get a written quote.
Written by Marcus Deller, Owner, Servo Garage Doors Santa Ana at Servo Garage Doors Santa Ana, serving Santa Ana and nearby areas.