
Last updated September 19, 2026
Full 25-point door and opener safety check with every visit - springs, cables, rollers, tracks, and your LiftMaster or Chamberlain opener included
You get a price before we start. It does not change when the truck arrives.
Modern flush
 Before
 After
After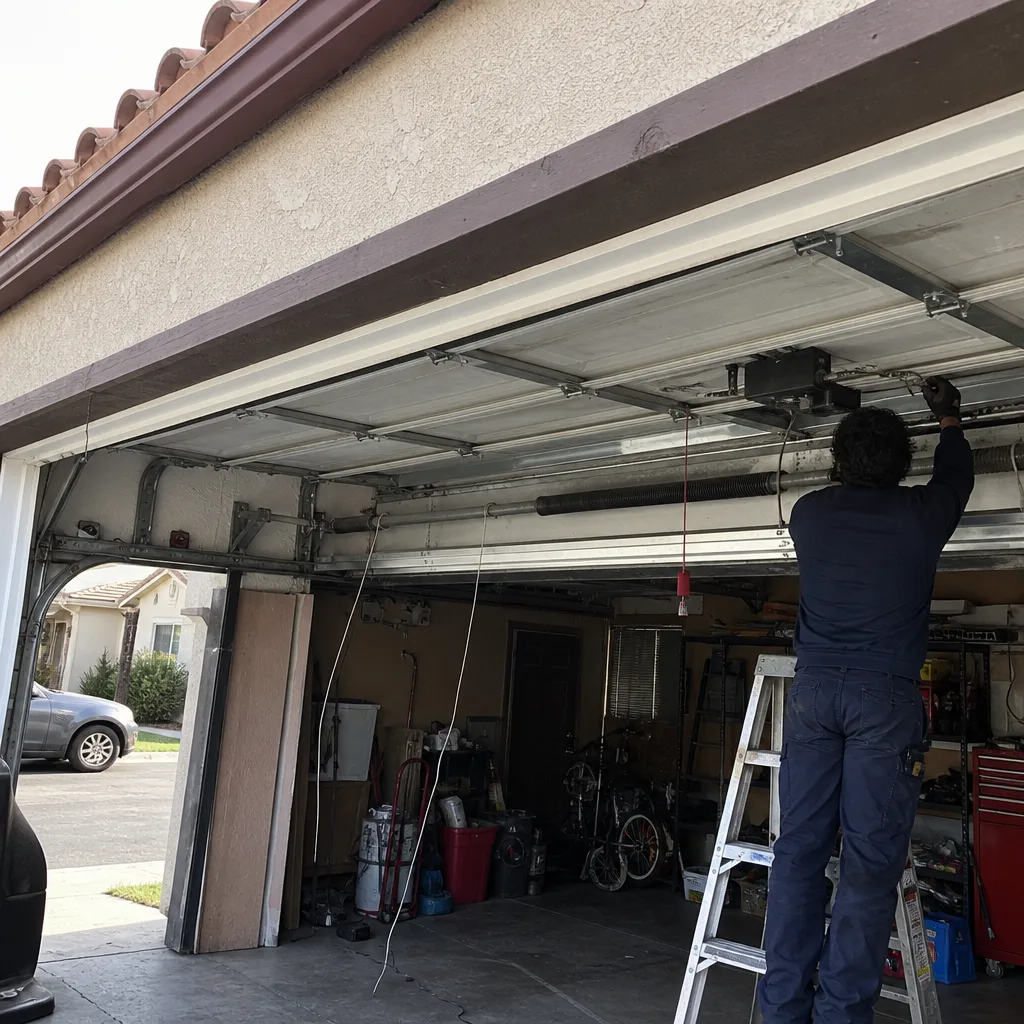 Before
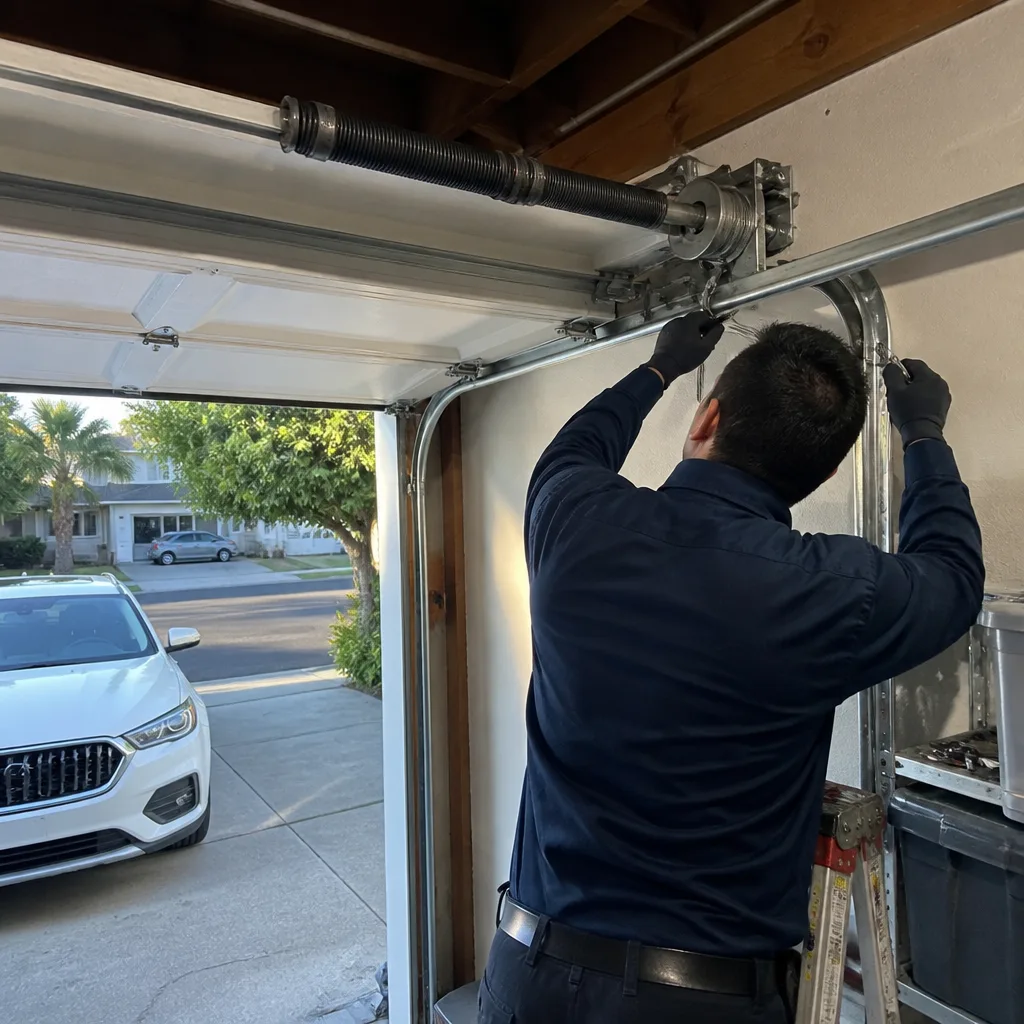 After
After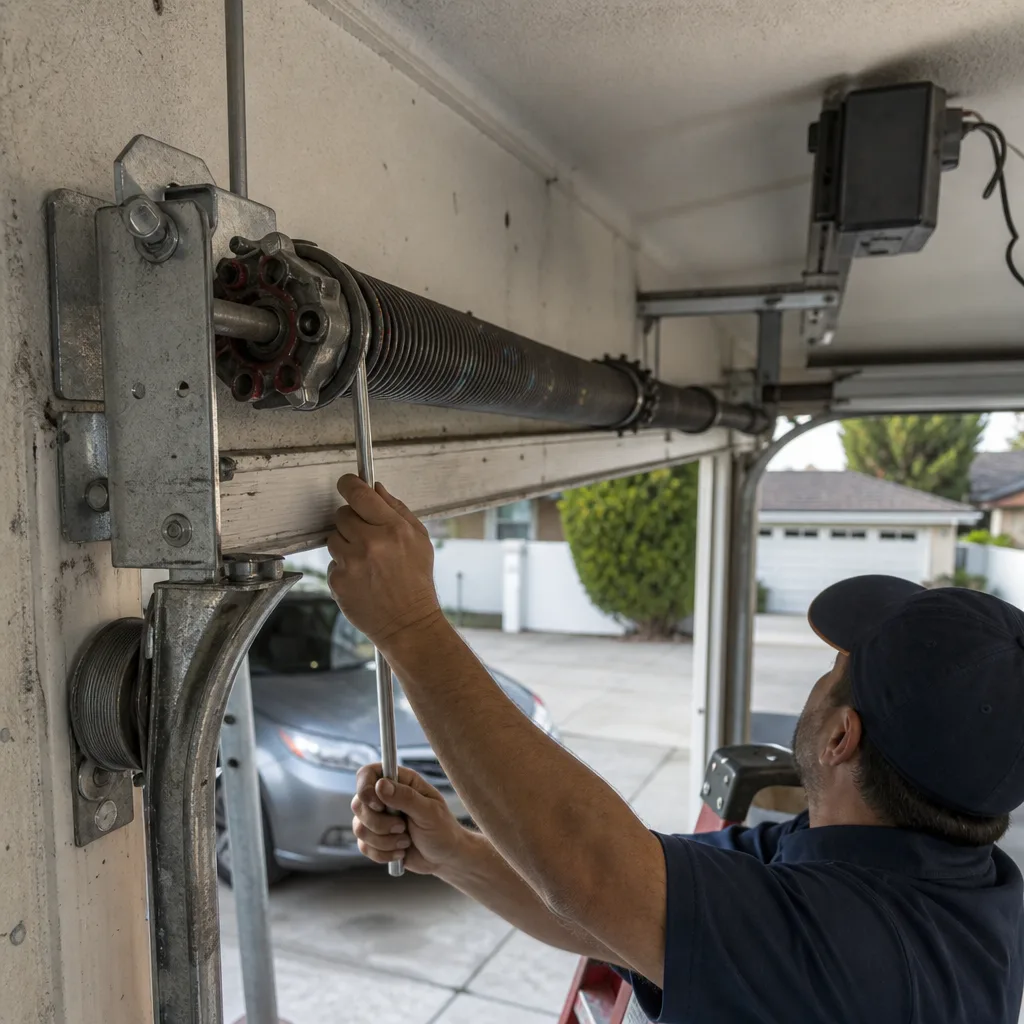 Before
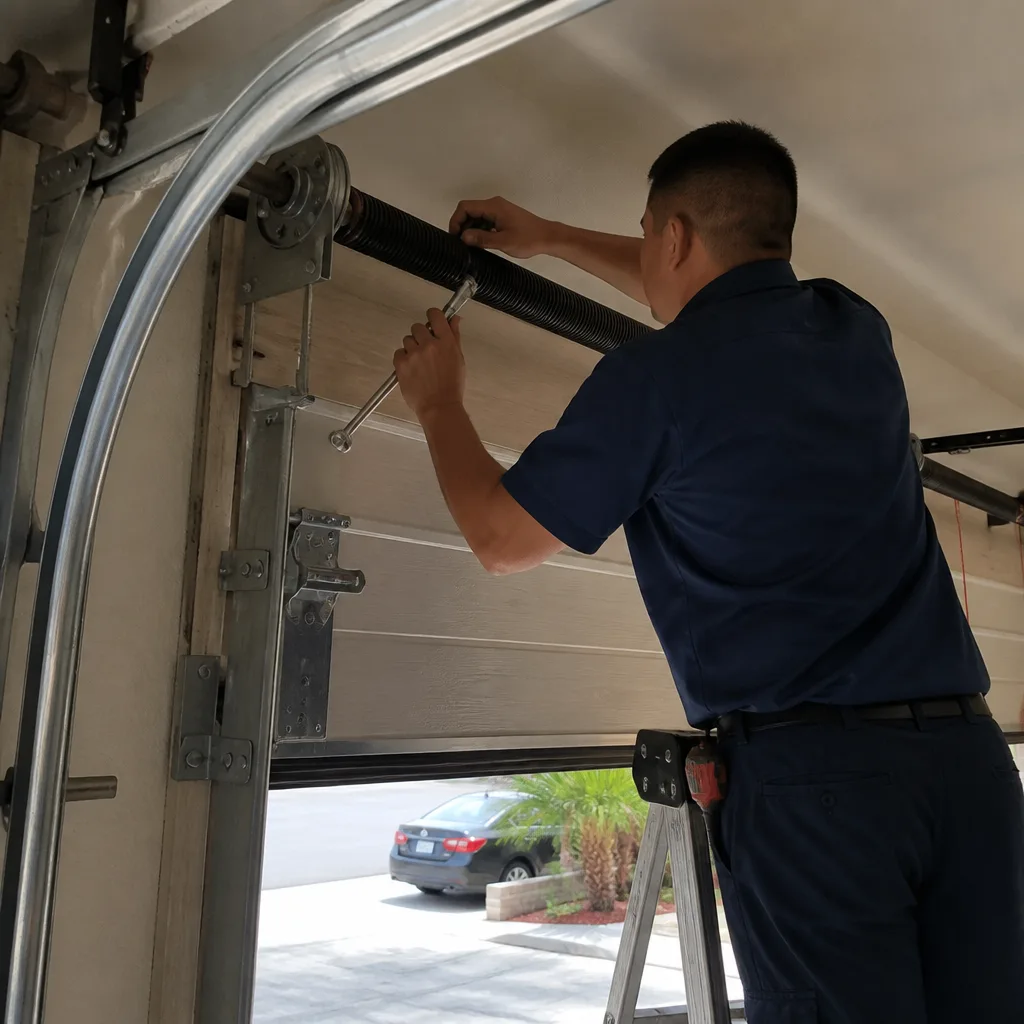 After
AfterGarage Door Repair Maintenance Checklist for Santa Ana Homeowners
Most Santa Ana homeowners don’t discover their garage door needs repair until it fails at 7:15 on a weekday morning, with the car trapped inside and a meeting in Irvine at 8:00. The frustrating part is that roughly 70% of the failures we see on service calls trace back to a maintenance item that was skipped for years, not a part that suddenly wore out. This guide gives you the exact checklist we use on our own service visits in Santa Ana, with specific products, measurable tolerances, and clear stop points where a task stops being maintenance and starts being a job for a licensed technician. You’ll finish with a working document, not a vague list of suggestions.
Quick Answer
A garage door maintenance checklist for Santa Ana homes should cover six areas twice a year: lubricate hinges and rollers with white lithium grease, apply silicone spray to the weatherseal, test the balance by releasing the door at waist height, check roller lateral play and weatherseal contact gaps, inspect cables and springs visually without touching them, and document each check with a date-stamped photo. Skip WD-40 entirely, never touch torsion components, and call a professional if the door fails the balance test by more than 4 inches.
Table of Contents
- The Lubrication Checklist: Exact Products, Exact Parts, Exact Order
- The Never-Touch List: Parts That End Up Costing You More
- Balance Test and Measurable Tolerances: Pass/Fail Criteria That Actually Mean Something
- Visual Inspection Checklist: What to Look For Before It Breaks
- A Santa Ana Maintenance Calendar: Marine Layer Months and Why They Matter
- Documenting Your Maintenance: The Paper Trail a Good Technician Builds
- Common Mistakes to Avoid
- When to Call a Professional
- Frequently Asked Questions
- The Bottom Line
For context on what professional repair looks like when maintenance isn’t enough, see our Garage Door Repair in Santa Ana page, where we document the same photo-record and written-price standard we describe in this guide. If your door is beyond the maintenance phase entirely, our Garage Door Installation in Santa Ana page walks through how we measure, price, and install replacements. And if the opener itself is the weak point, the Garage Door Opener Repair & Installation in Santa Ana page covers logic boards, limit switches, and when repair beats replacement.
BeforeAfterThe Lubrication Checklist: Exact Products, Exact Parts, Exact Order
Here’s the problem with most maintenance advice: it says “lubricate moving parts” and leaves the rest to imagination. That’s how torsion springs get coated in WD-40 and weatherseals get greased into sticky streaks. WD-40 is a solvent and water displacer, not a lubricant. Sprayed on a torsion spring, it strips the factory corrosion coating, accelerates rust in Santa Ana’s coastal air, and gives most manufacturers a reason to void the spring warranty. The springs on a LiftMaster or Chamberlain door are wound under enough tension to lift hundreds of pounds; they need their coating intact, not dissolved.
Use these exact products on these exact parts, in this order:
- Hinges (all of them, top to bottom): White lithium grease in a spray can with a straw nozzle. One half-second spray per hinge pin, then open and close the door once to work it in. The hinge is the flat metal bracket connecting each panel; if you hear a creak when the door bends at a seam, the hinge pins are dry.
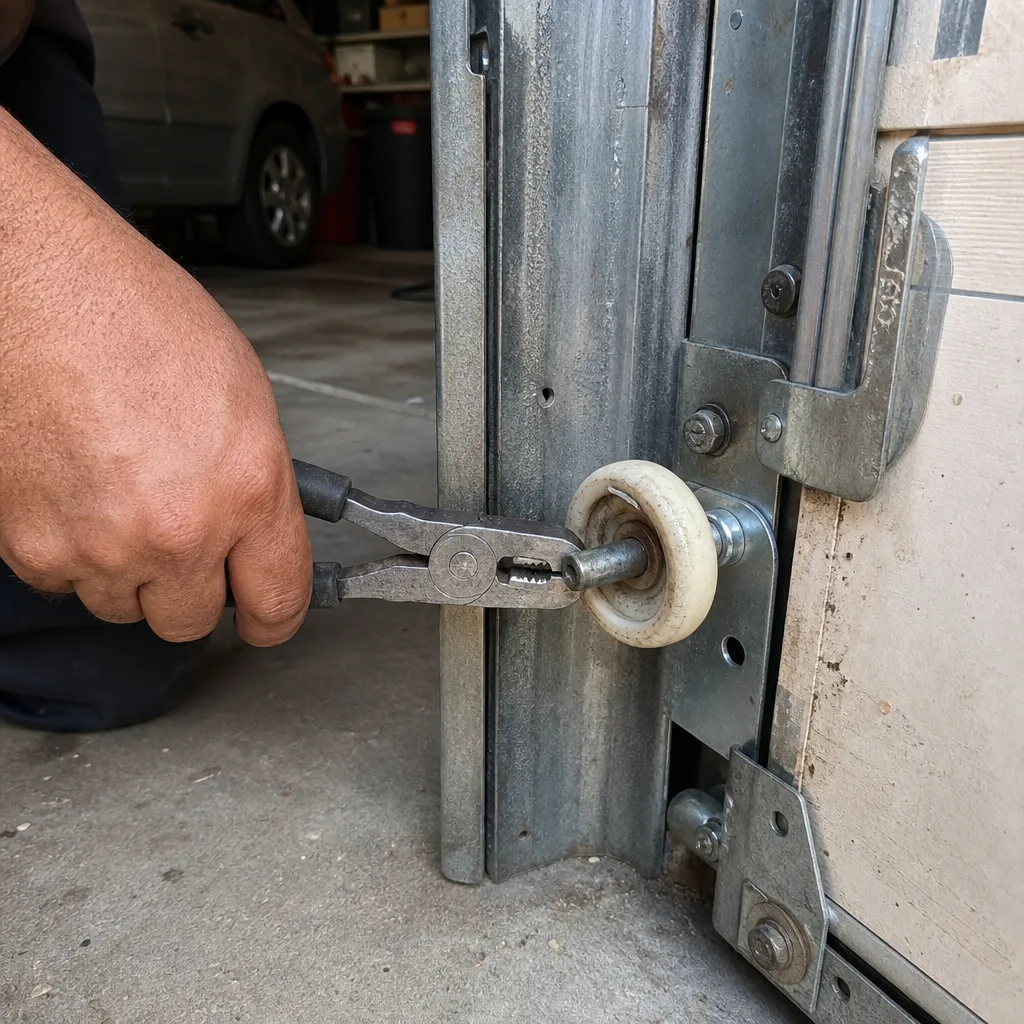
- Steel rollers (if your door has them): White lithium grease on the roller stem only, not the wheel. The wheel runs inside the track; grease on the wheel face collects Santa Ana dust and turns into grinding paste. Nylon rollers in most LiftMaster-installed doors don’t need lubrication at all, and greasing them shortens their life.
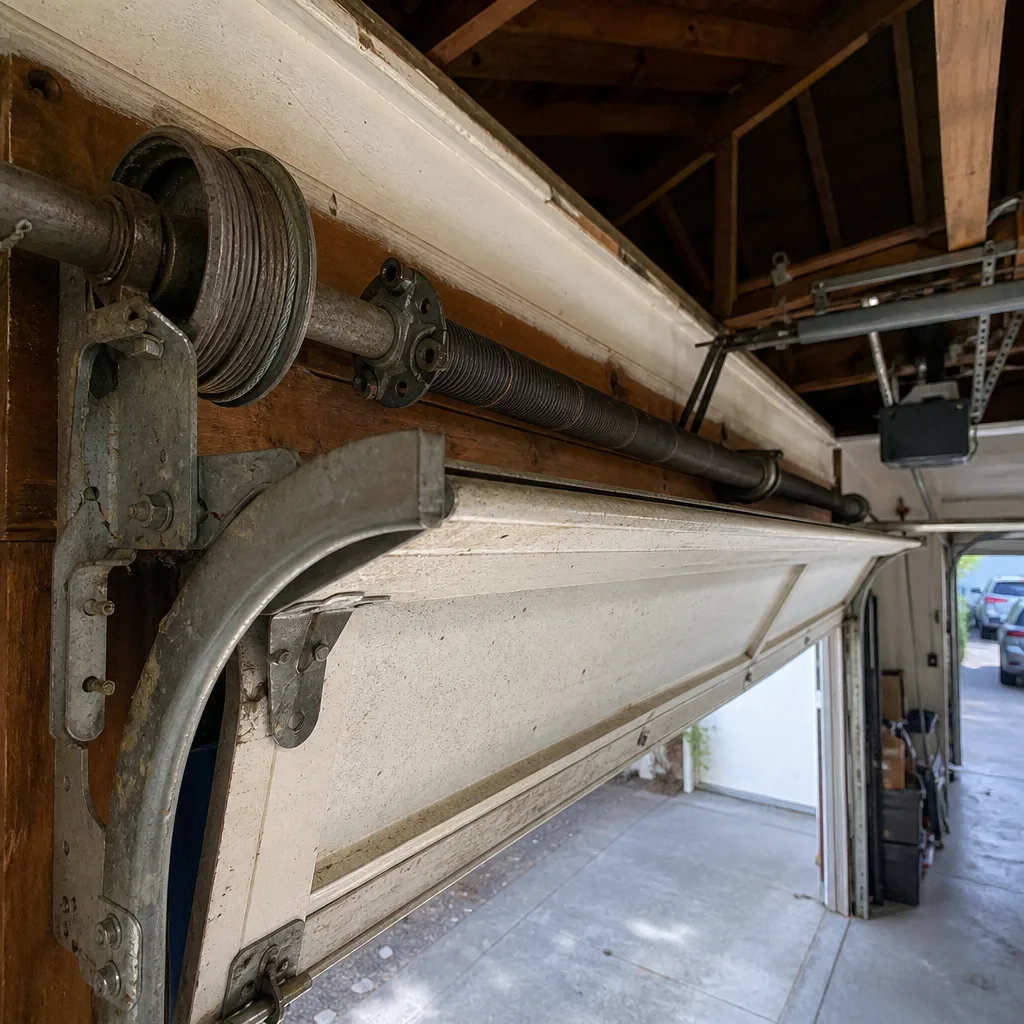
- Torsion spring coil body only: Silicone-based spray, applied in one light pass across the top of the coils in the center of the door. The torsion spring is the horizontal coil mounted above the door opening. Spray the coil body, never the set screws at the ends, never the cables, never the cable drums.
- Weatherseal (the rubber strip at the bottom of the door): Silicone spray, wiped on with a cloth rather than sprayed directly, which keeps it off the concrete. Silicone keeps the rubber flexible; it does not attract the grit and dust that grease does.
- Track interior (only if rollers are steel): A thin film of lithium grease on the inside vertical face of each track, where the roller stem rides. Wipe away excess. Do not grease the track if your rollers are nylon; nylon runs dry by design and any lubrication just collects dirt.
One pass through this list takes ten minutes. Do it before the Santa Ana summer heat bakes whatever moisture is in the air into the hinges, which is when we see the most frozen-panel calls in Floral Park and Park Santiago.
The most common specific failure we photograph on maintenance visits in Santa Ana is a hinge pin rusted solid on the ocean-facing side of the door. Hinge numbers 1 through 4 on the bottom panels seize first because road splash from the driveway reaches them. If a hinge won’t bend freely after lubrication, the hinge is gone, not dry. That’s a Garage Door Repair in Santa Ana call, not a maintenance item. If the door itself has been rusting through instead of just the hardware, you may be looking at Garage Door Installation in Santa Ana territory.
The Never-Touch List: Parts That End Up Costing You More
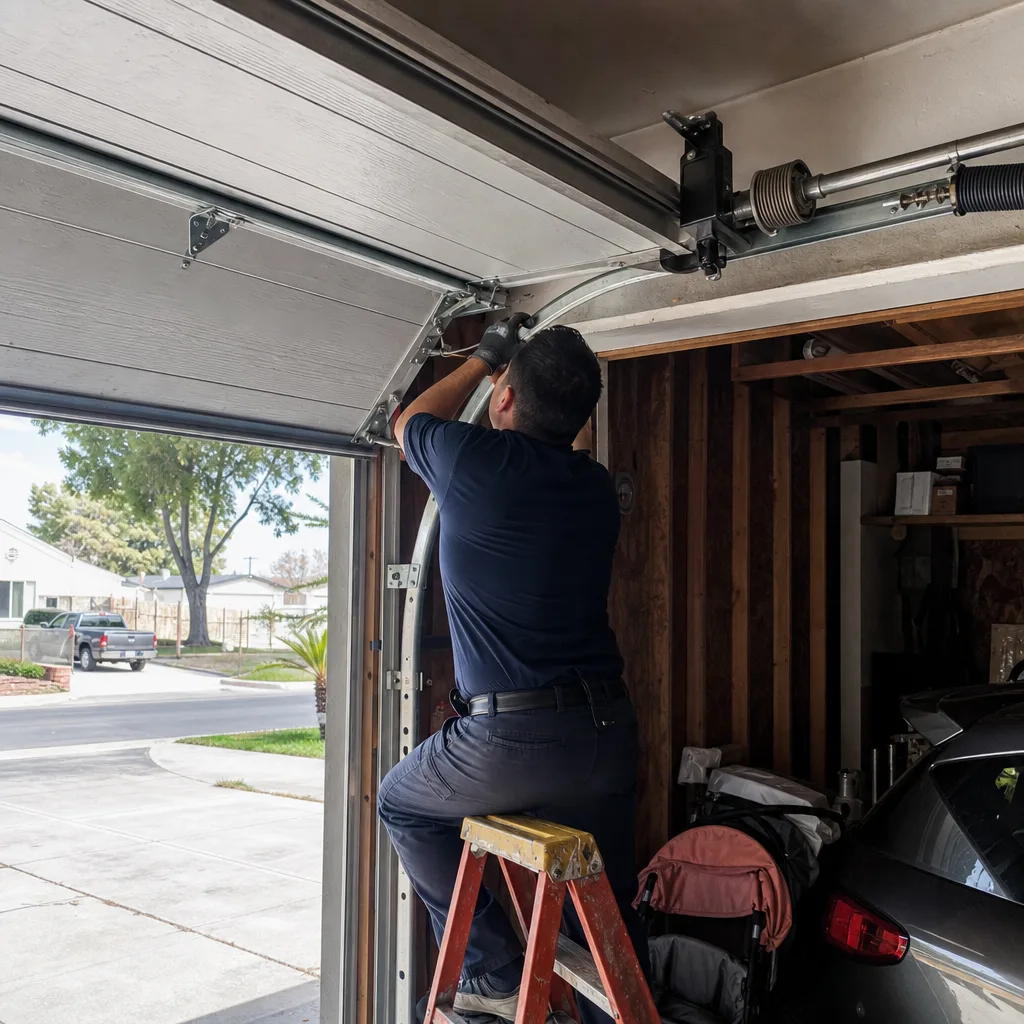
A maintenance checklist is only useful if it tells you where to stop. These are the parts homeowners in Santa Ana should photograph, measure, and document, but never lubricate, adjust, or disassemble.
- Cable drums and the cables themselves. The drums are the grooved wheels at each end of the torsion spring shaft that wind and unwind the steel lifting cables. If the cable slips out of that groove, the door can drop suddenly and with enough force to injure anyone under it. A frayed cable is a replacement call, not a repair attempt. A cable with even one broken strand should stop the entire door until a technician addresses it.
- Bottom brackets. These two steel plates hold the rollers and the lifting cables to the bottom corners of the door. They’re under the same tension as the cables, and they’re pinched between the door weight and the concrete. A bottom bracket that shows rust streaks or that has shifted from its flush position is signaling a failure. Do not touch the bolts.
- Torsion spring set screws. The winding cone of a torsion spring has two bolts drilled into the shaft. They are the only thing holding the spring’s stored tension in place. Loosening one without the correct winding bars and a full understanding of the release sequence can unwind the spring at high speed, and a spring breaking free at full tension has caused fatal injuries. If the spring shows rust, gaps in the coil, or a visible fracture line, stop using the door.
- Extension spring safety cables. On older Santa Ana homes built before 2000, you’ll still find extension springs running along the horizontal tracks. The safety cable running through the center of each spring is there precisely because extension springs snap and fly when they fail. If the safety cable is frayed or missing, do not open the door again.
- Opener travel limits and force settings. The two dials or digital settings on the back of the opener motor head control how far the door travels and how much force the opener applies to obstacles. Raising the force setting to compensate for a door that’s gotten stiff just masks the underlying problem and turns the door into a sudden reversal risk. A door that needs more force to close needs its balance checked, not its opener adjusted.
Every one of these parts is on the visual inspection list we run before we quote any work in Santa Ana. The difference is we photograph them, you document them, and neither of us should be turning bolts. For opener-specific work, the same rule applies: the Garage Door Opener Repair & Installation in Santa Ana page covers what’s safe to inspect versus what needs a technician with a multimeter and a torque driver.
Balance Test and Measurable Tolerances: Pass/Fail Criteria That Actually Mean Something
“Check the balance” is another maintenance instruction that fails the moment you ask what a passing score is. Here are the exact numbers we use when we run this test in Santa Ana, and the numbers you should use in your garage.
The balance test: Pull the red emergency release handle to disconnect the opener from the door. Manually lift the door to about waist height, or 3 feet, and let go. A correctly balanced door will hold within 3 to 4 inches of that midpoint, neither creeping upward nor dropping. If it rises or falls more than 4 inches, the springs are wearing and the door is working against the opener on every cycle. The opener is now doing the lifting the springs should do, and the opener’s motor, gear, and sprocket are all consuming their service life faster than they should.
Roller lateral play: Grasp the roller stem and try to wiggle it side to side in the track. More than roughly 1/8 inch of play means the roller bearing is worn, and the roller will eventually skate, bind, or pop out. Rollers are consumable, just like brake pads, but nobody gives them a wear interval. Nylon rollers on LiftMaster and Chamberlain doors last about 7 to 10 years in Santa Ana’s climate before the bearing starts to talk.
Weatherseal contact gap: Close the door and run your hand along the bottom edge from inside the garage. You’re checking for daylight. A gap wider than 1/4 inch between the weatherseal and the concrete lets in water, dust, and the insects and rodents that come with Santa Ana’s dry wash areas. If the seal is cracked, brittle, or compressed flat in the center, replacement is a $30 part, but the value is in the door, not the strip. A bottom seal that’s failed turns a dry garage into a humid one, and in November through March that means rust acceleration on every metal component of the door.
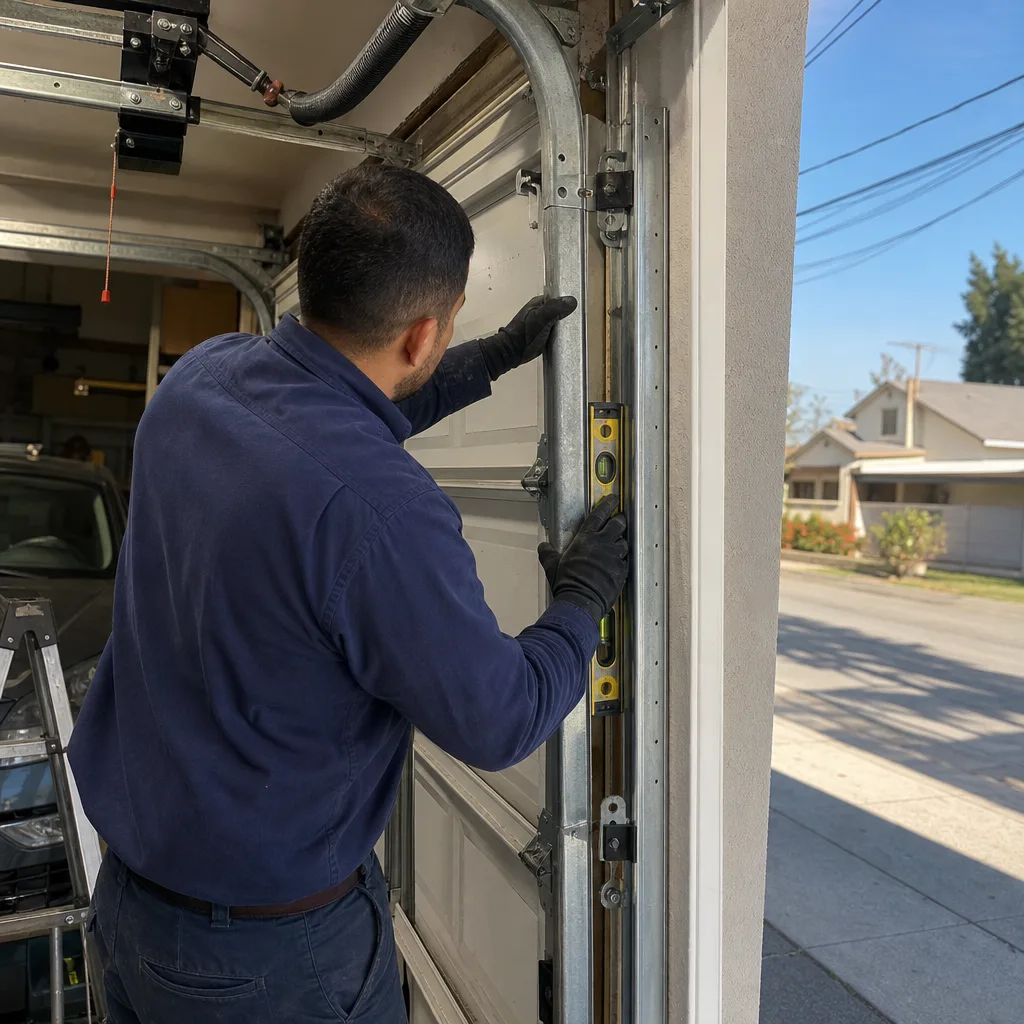
Track parallelism: The tracks on either side of the door should be vertically plumb within about 1/8 inch. If one track has shifted, the door will bind against the rollers and the opener will strain. You can check this with any level; if the bubble is outside the center marks, the track brackets have loosened.
In our experience, the balance test catches about 4 out of 5 doors that are headed for a spring failure. It’s the single highest-value maintenance check you can run, and it costs nothing but 60 seconds.
Visual Inspection Checklist: What to Look For Before It Breaks
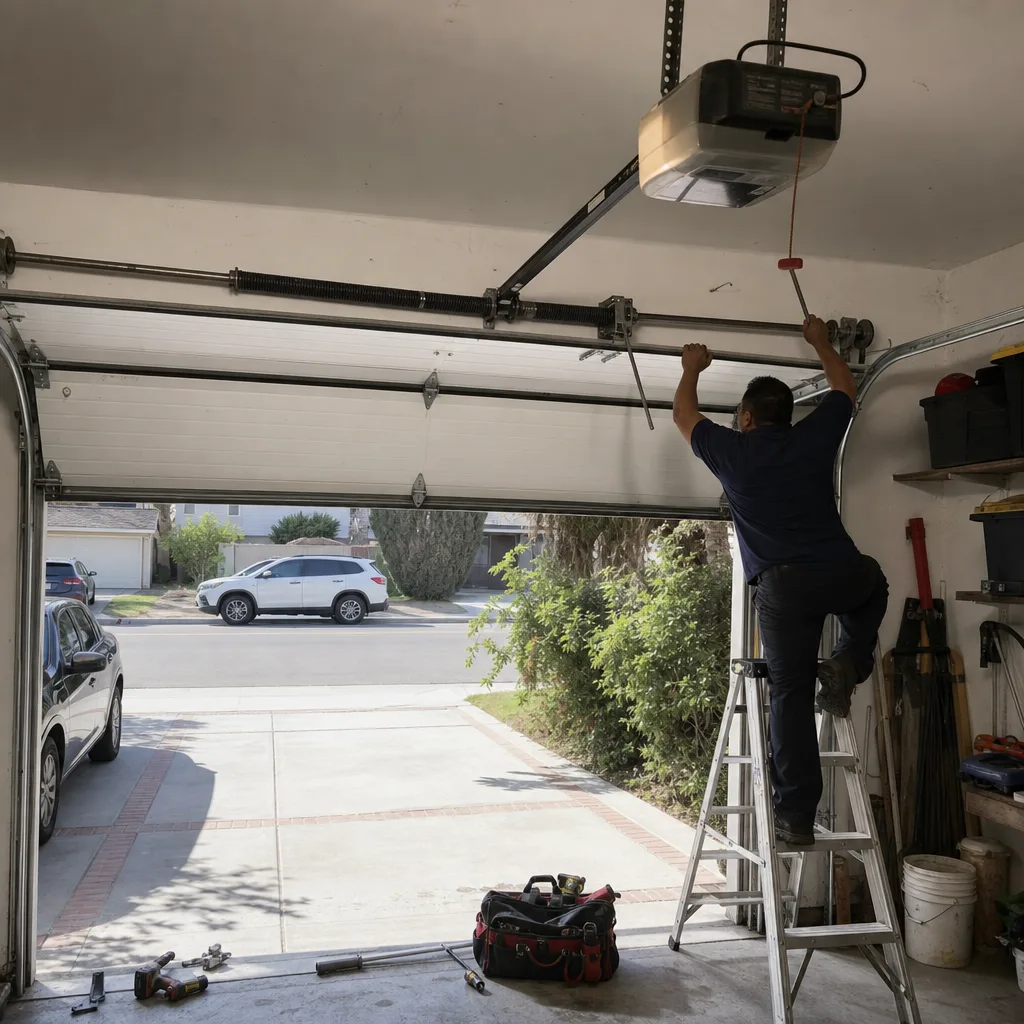
Walk the door from top to bottom, inside and out. These are the items that give you warning before the door stops working on a Monday morning. Take a photo of each one, even if it looks fine.
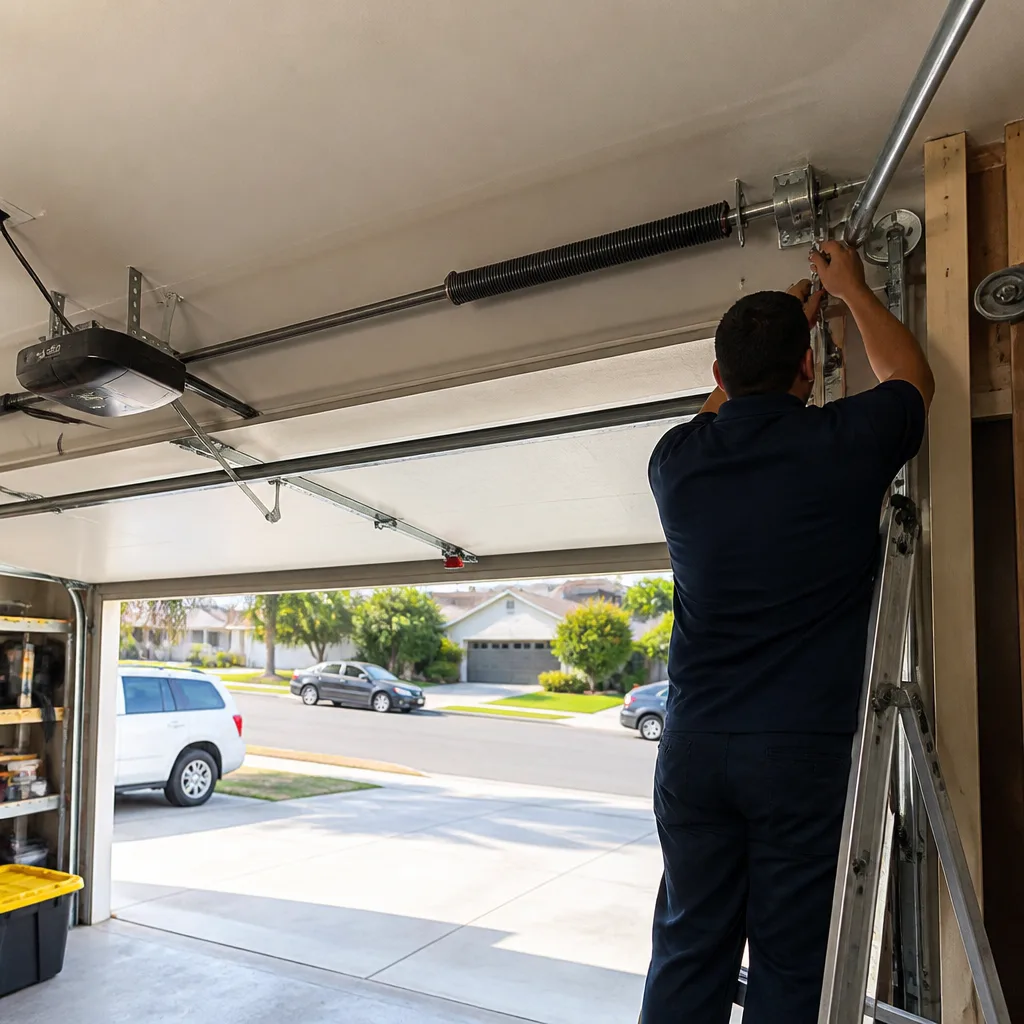
- Torsion spring (inside, center of the door): Look for rust, gaps between coils, or a visible crack line. A healthy spring has tightly stacked coils with no separation. If the coils have begun to separate on one side, the spring is taking a set and losing force. Mark the spot and compare photos between maintenance sessions.
- Cables (both sides, inside): Look for broken strands, rust, or any slack. Steel cables fray before they snap. If you see one broken strand, the cable no longer has its full rated strength, and it’s carrying the weight of the door every time it moves.
- Roller wheels (both sides, all of them): Look for flat spots, cracks, or missing nylon. A cracked nylon roller will shed its wheel entirely, and then the steel stem runs directly on the track.
- Track fasteners (both sides, all brackets): Every bracket bolt should be snug. A track that’s allowed to loosen will let the whole door run diagonal, and a diagonal door chews through rollers and bends hinges.
- Hinge plates (both sides, all seams): Look for hairline cracks radiating from the bolt holes. Stamped steel hinges fatigue in Santa Ana’s stop-start opener cycles, and a cracked hinge plate is the part that fails next.
- Opener rail and trolley carriage (inside, center): The rail should be straight, the chain or belt should have about 1/4 to 1/2 inch of deflection at the midpoint, and the carriage should not show metal shavings. Shavings mean the gear or sprocket is eating itself.
- Logic board and wiring (opener motor head): Look for scorch marks, swollen capacitors, or corroded terminals. In Santa Ana’s marine layer months, opener boards with any exposed trace can develop oxidation that causes intermittent drops.
- Photoelectric sensors (both sides of the door opening, near the floor): Each one has a small indicator LED that should be solid, not flashing. A flashing sensor means misalignment or a broken wire, and the door will refuse to close.
If the door itself has been in place since before you bought the house, this is also the moment to ask whether it’s still the right door. We walk through the decision making on our Garage Door Installation in Santa Ana page, including what a pre-2010 door is costing you in insulation and noise.
A Santa Ana Maintenance Calendar: Marine Layer Months and Why They Matter
Santa Ana’s climate does something specific to garage doors, and it’s not the dry heat most people expect. The marine layer that sits over the city from November through March delivers months of high-humidity mornings, followed by dry afternoons. That daily expansion and contraction cycle pulls moisture into every metal-on-metal contact point on the door.
November through March (marine layer season): This is when bottom weatherseals fail quietly. The seal sits against concrete that’s cooler than the air in the morning, condensation forms in the gap, and the seal’s rubber absorbs it. By March, a seal that wasn’t treated with silicone in October is cracked and letting water into the garage. Run the weatherseal check twice during these months, once in November and once in February, and treat the seal with silicone spray after each check. This is when rust blooms on any exposed steel, so it’s also the time to inspect the cables and bottom bracket paint more closely.
April through June (transition months): Temperature swings of 30 degrees in a single day are common. Hinges that haven’t been lubricated through the winter seize up as the metal expands and contracts. This is the single best window to run the full lubrication checklist, because whatever you apply in April will be working through the whole summer without being washed off.
July through October (hot dry season): The dry heat does two things. It bakes grease out of hinges, leaving a hard lacquer that’s worse than no grease, and it gives nylon parts the final push toward failure. Nylon rollers on Raynor and Craftsman doors that have been in place for more than 8 years often crack during August and September heat. Run the roller play test in July, and don’t skip the opener rail check: chains run dry and stretch in the heat, and a stretched chain snaps teeth off the sprocket.
The rhythm that works for most Santa Ana homes is two full maintenance passes a year: one in April after the last marine layer weeks, one in October before the next one sets in. Homes within a mile of the coast, in neighborhoods like West Floral Park or Washington Square, should add a third pass in February for the weatherseal and cable check.
Documenting Your Maintenance: The Paper Trail a Good Technician Builds
Here’s the part most checklists miss entirely: if you don’t document what you see, you’re relying on memory, and memory won’t tell you whether that crack in the hinge plate was there last April or appeared in November.
On every service visit we make in Santa Ana, the technician leaves with a documented photo record of what was found and what was done. Clause 4 of The Haven Standard is the reason the customer sees the failed part before anyone quotes a replacement. That rule exists because a homeowner should never have to take a contractor’s word for it.
Your home maintenance record should work the same way. Use your phone. The process takes 4 minutes per maintenance pass.
- Stand in the same spot every time. Use the same four positions: inside-left, inside-right, inside-center (torsion spring), and outside-center (full door face). Same angles, same distance, every pass.
- Photograph before you touch anything. Resistance on the hinge, rust on the cable, the condition of the weatherseal. The before photo is the evidence you’ll compare against next time.
- Turn on the date stamp. Every modern phone can stamp the photo. If yours doesn’t, just name the photo with the date before you move on.
- Photograph after. Same four positions. This is how you’ll see what changed: whether the rust bloomed, whether the seal flattened, whether the crack in the hinge got longer.
- Store them somewhere you’ll actually find them. A folder called “Garage Door Maintenance” in your photo app works. Name the passes by month and year: “Garage April 2026.”
What you’ll end up with is a visible maintenance history. When the door eventually needs professional work, that photo record lets a technician see what you saw and when you saw it. And if you bring us a competing written quote, the Free Second Opinion means we’ll look at what the other company wrote on paper, not what our phones say about their special. Documentation is the only thing that survives a disagreement, which is why we’ve built the entire Servo system on it.
If the opener itself is showing signs of age while the door still looks serviceable, read our Garage Door Opener Repair & Installation in Santa Ana page for the specific symptoms that separate a repairable opener from one that’s reached its end.
Common Mistakes to Avoid
- Using WD-40 on the torsion spring. It’s the most common homeowner maintenance error we see in Santa Ana, and it’s actively harmful. WD-40 strips the spring’s protective coating, and in the marine layer months that coating is all that stands between the spring and rust. The correct product is silicone spray on the coil body, nothing else.
- Lubricating the photo eye lenses with grease. The photoelectric sensors near the floor have lenses that accumulate dust quickly in Santa Ana’s dry months. Clean the lenses with a dry microfiber cloth. Grease or even glass cleaner leaves a film that scatters the beam and causes phantom reversal.
- Tightening the opener chain to remove slack. A certain amount of chain deflection is correct; the chain is meant to run with about 1/4 to 1/2 inch of play at the midpoint. Overtightening a chain to “fix” a noisy opener just burns out the sprocket bearing and the motor. Noise is usually the rollers or the hinges, not the chain.
- Greasing the track itself. The track is not a bearing surface; the roller runs on it, but the track doesn’t spin. Grease on the track collects grit, and then the rollers are running through sandpaper. Lubricate the roller stems and the hinge pins, leave the track alone.
- Adjusting the torsion spring tension to “fix” a sagging door. A door that doesn’t hold position at midpoint doesn’t need more spring tension, it needs replaced springs. Adding a quarter turn to a tired torsion spring only gets you a few more weeks, and you’re handling a part under lethal tension without the tools or the training for it.
- Skipping the balance test because the door “feels fine.” The opener masks balance problems until the spring actually breaks, and then you’re the person with a dead door and a car inside. The 60-second test tells you what the opener is hiding.
- Replacing only one spring on a two-spring door. Both springs have the same number of cycles on them. When one breaks, the other is close behind. Replacing one spring means the door runs unbalanced and the new spring wears unevenly, and you’ll pay for the second spring job within a year. A reputable technician replaces both and tells you why, with a photo of both springs before quoting anything.
When to Call a Professional
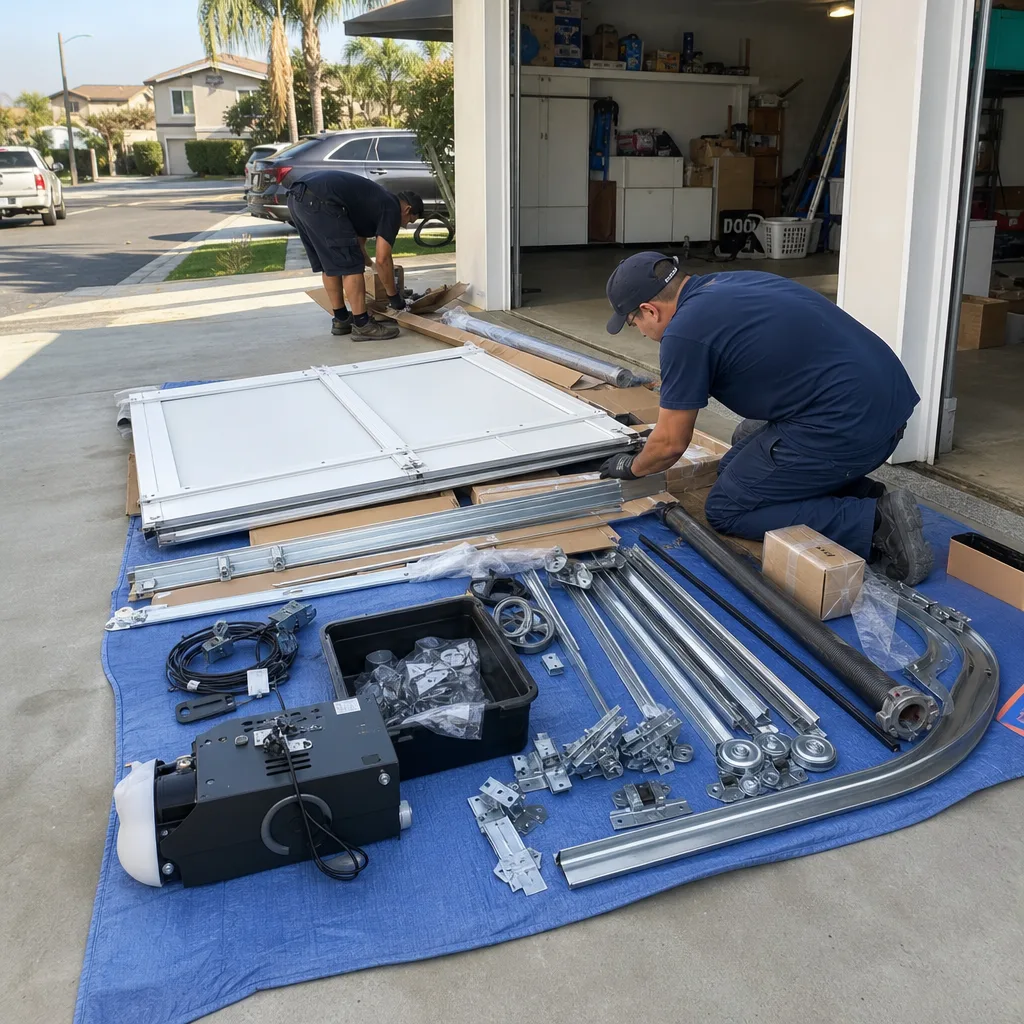
Stop the maintenance pass and make the call if you find any of these: a broken cable strand, a torsion spring with visible coil separation or a fracture line, a bottom bracket that has shifted or shows rust streaks, a track that has pulled away from the wall, or a door that fails the balance test by more than 4 inches. Each of these is a mechanical failure in progress, and the failure mode is usually sudden. Servo Garage Doors Santa Ana offers free estimates in Santa Ana, with a flat written price and written scope before any work starts. Call (949) 569-5253 and a live person answers, day or night.
We’ve also written up our full approach on the Garage Door Repair in Santa Ana page, including how the photo-first standard works in practice and what a written quote covers. If you already have a written estimate from another company, bring it; the Free Second Opinion uses your paperwork, and no coupon is required.
Frequently Asked Questions
Most Santa Ana homeowners can do a full maintenance pass themselves for under $30 in materials: a can of white lithium grease, a can of silicone spray, a microfiber cloth, and an hour of time twice a year. If you want a professional maintenance inspection and service, expect to pay between $79 and $150 for a one-time visit in the Santa Ana market. Call (949) 569-5253 for a written quote before anything starts.
Lubricate the hinges, roller stems, and torsion spring twice a year in Santa Ana: once in April after the marine layer season ends, once in October before the next one begins. Homes within a mile of the coast should add a light touch-up in February, because the persistent moisture accelerates rust on exposed steel parts.
No. Torsion springs are wound under enough tension to lift the full weight of the door, and an uncontrolled release of that tension can be lethal. The winding bars, the correct sequence, and the physical positioning all matter. This is not a maintenance task; it is a professional repair, which means a written quote and a photo of the failed spring before any work starts.
If the door still grinds or rattles after proper lubrication, the noise is coming from worn rollers, a stretched chain, a failing opener sprocket, or a hinge that’s already cracked. These are wear conditions, not lubrication issues, and each one has a repair path. The next step is a professional diagnosis with photos of exactly what’s making the noise.
We service all major garage door brands, including LiftMaster, Chamberlain, Genie, Clopay, Amarr, Wayne Dalton, Craftsman, and Raynor. The maintenance checklist in this guide applies to every brand: the balance test tolerance and the lubrication product choices don’t change with the name on the door.
Yes, especially for homes built in the last decade with nylon rollers and modern LiftMaster or Chamberlain openers. The opener is the most expensive component on the door besides the door itself, and its service life is directly tied to how well the door stays balanced. A twice-yearly maintenance pass adds years to the opener and prevents the morning-failure scenario that turns a $200 repair into an emergency call. Call (949) 569-5253 and we’ll walk you through what a maintenance visit covers, in writing, before you commit.
The Bottom Line
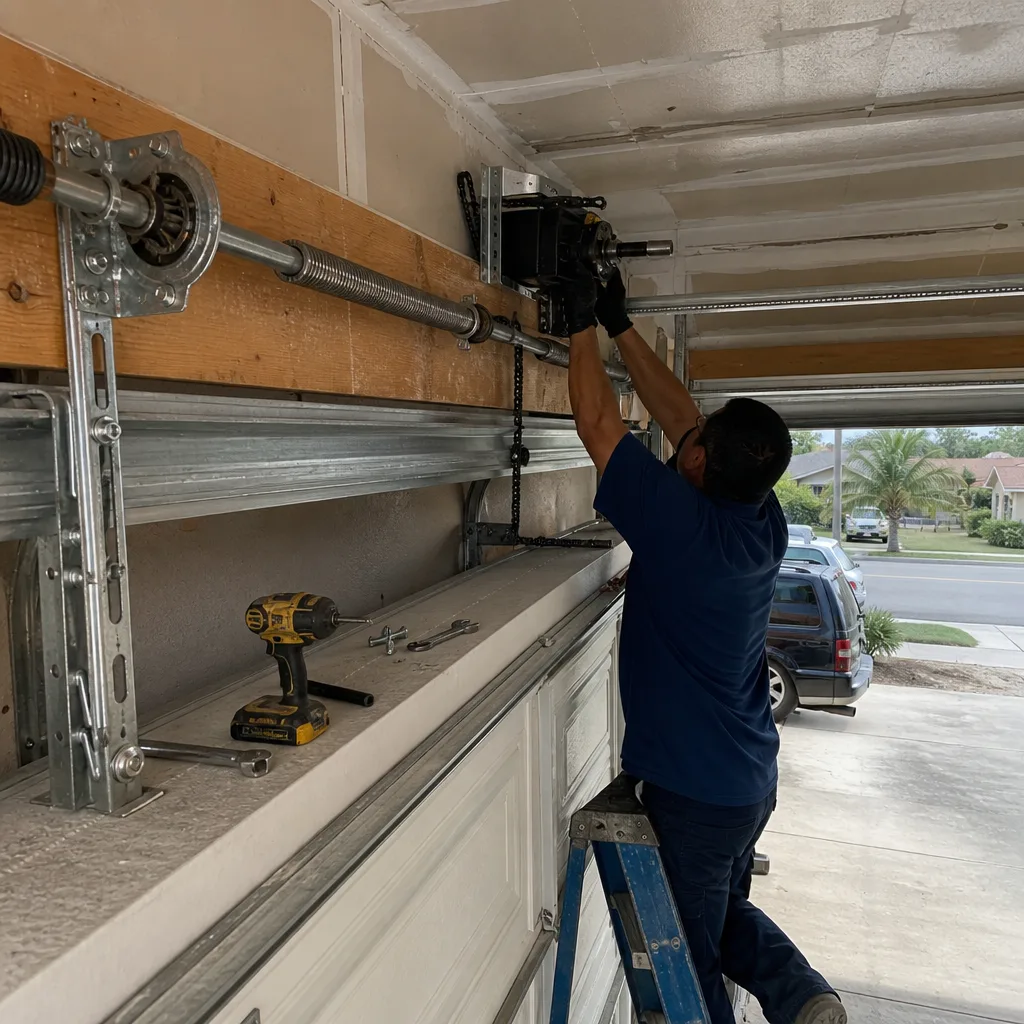
The difference between a garage door that lasts 20 years and one that dies at 9 is a maintenance routine that runs twice a year and documents everything. Use white lithium grease on hinges and roller stems, silicone spray on the torsion spring coil and weatherseal, and run the balance test every pass. Never touch cables, drums, bottom brackets, or set screws. Photograph everything with a date stamp, and when the documentation turns up something you shouldn’t fix yourself, get a written price before anyone turns a wrench. That’s how we’ve made over 18,000 doors right since 2015, serving Santa Ana under The Haven Standard, one documented job at a time.
Written by Marcus Deller, Owner at Servo Garage Doors Santa Ana, serving Santa Ana since 2015.
Need a maintenance visit or a second opinion on a written estimate? Call (949) 569-5253 for a free estimate. Our Servo Garage Doors Santa Ana home page has the full story on how we work, and a live person answers every call.