
Last updated September 19, 2026
Full 25-point door and opener safety check with every visit - springs, cables, rollers, tracks, and your LiftMaster or Chamberlain opener included
You get a price before we start. It does not change when the truck arrives.
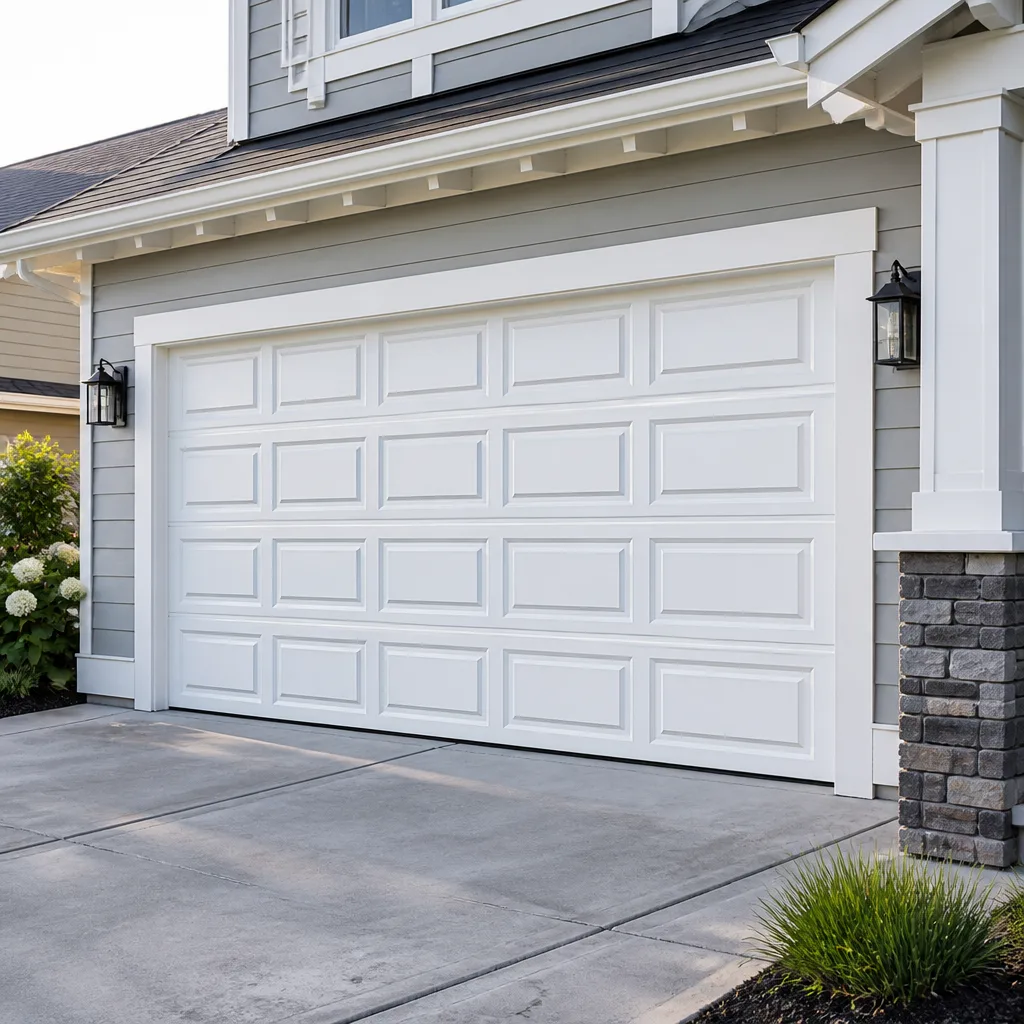
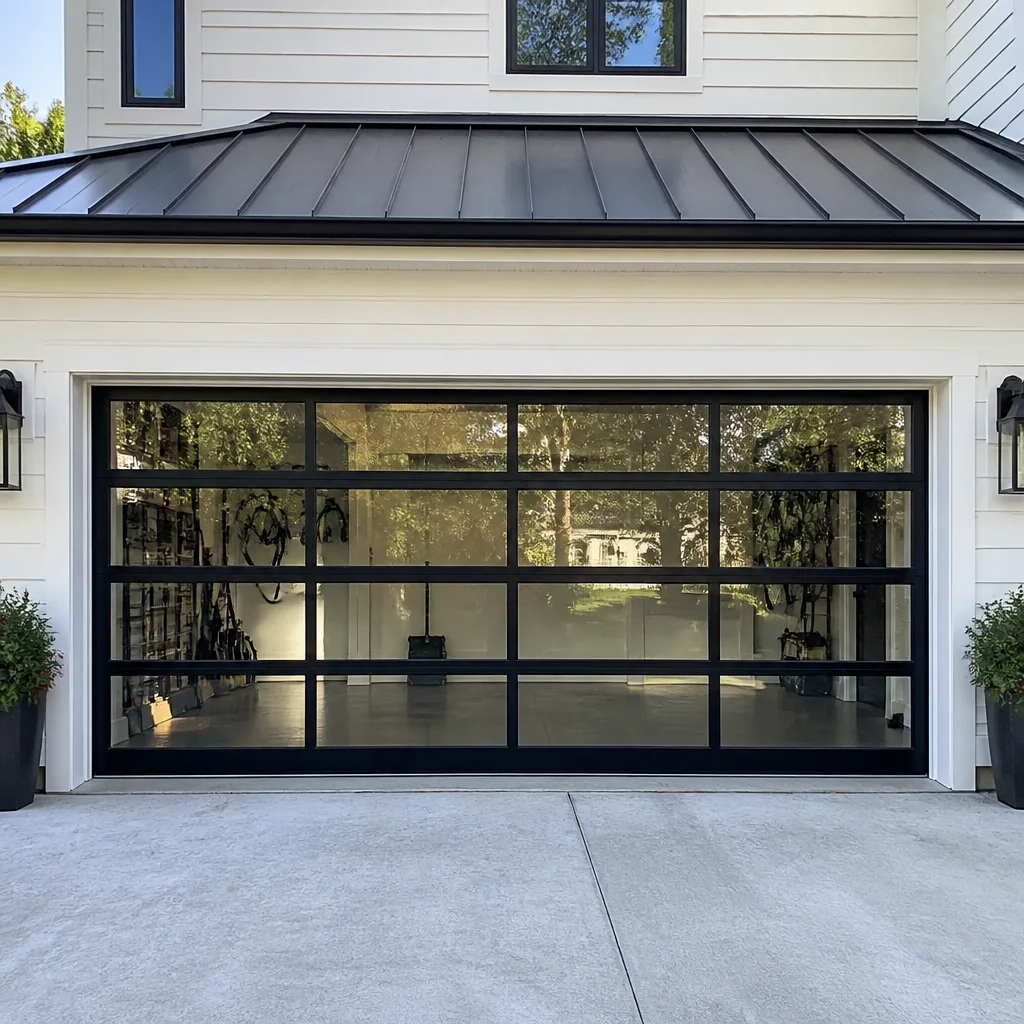
Modern flush
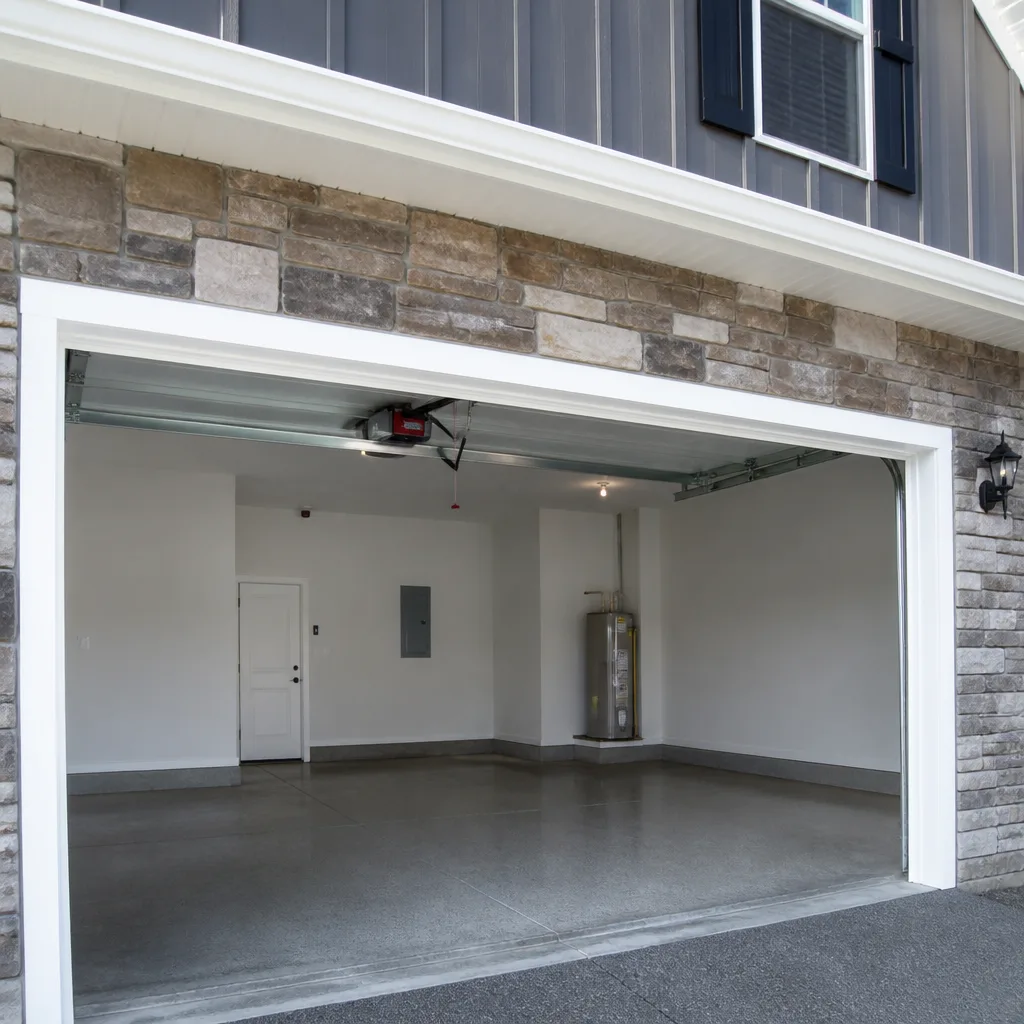
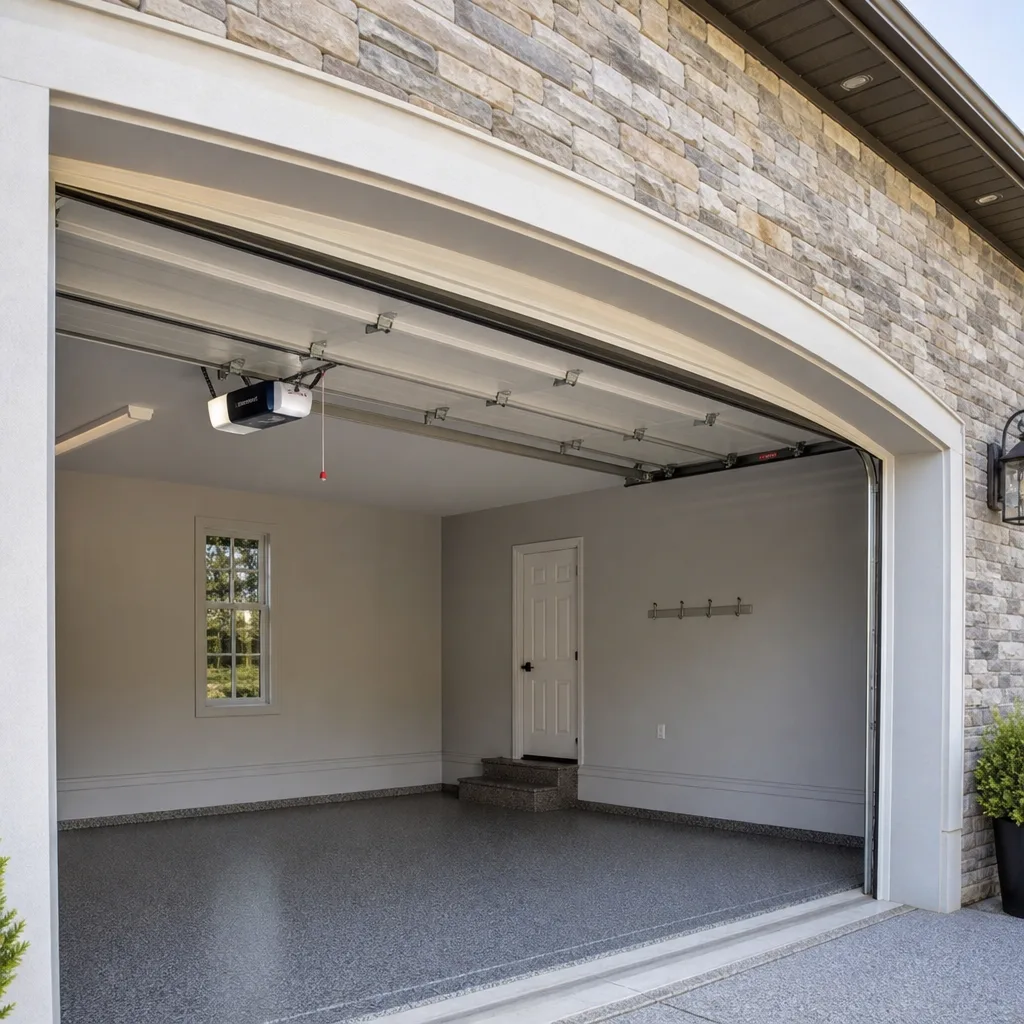
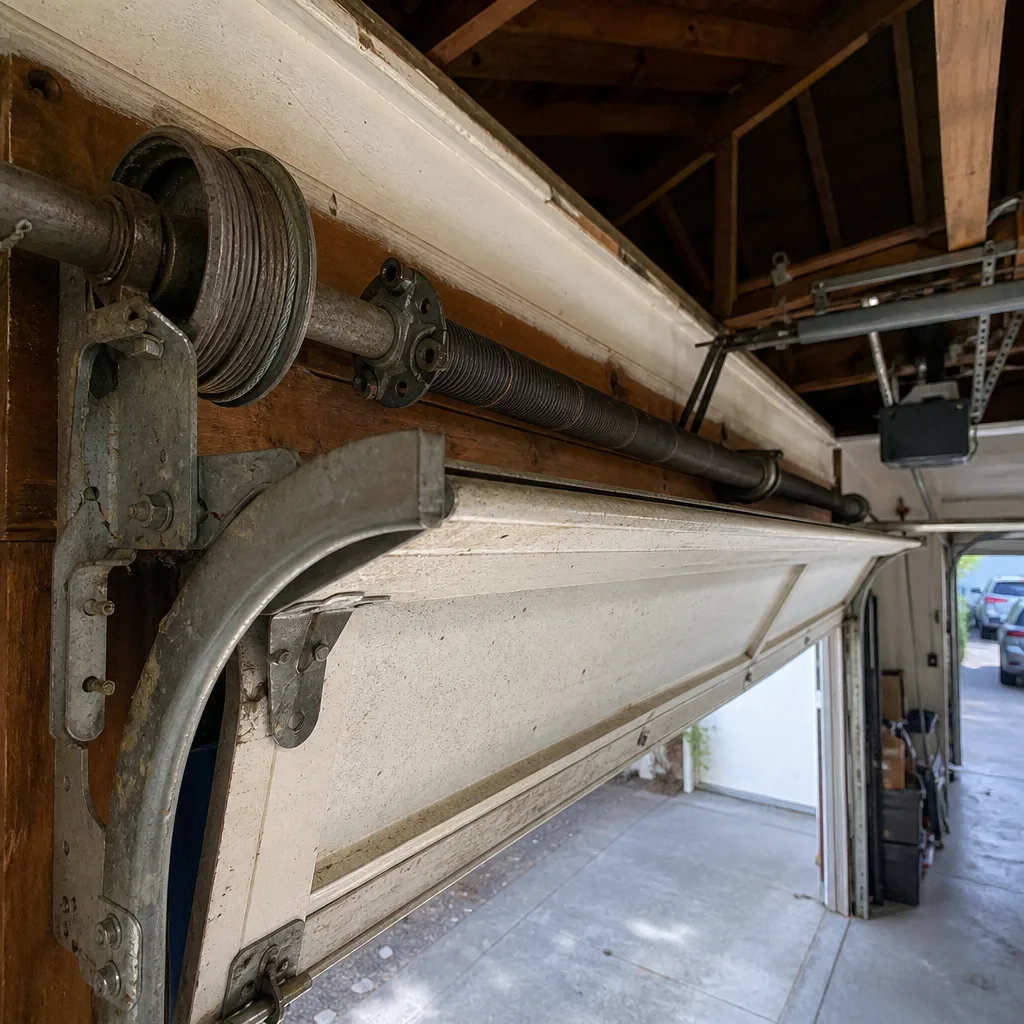 Before
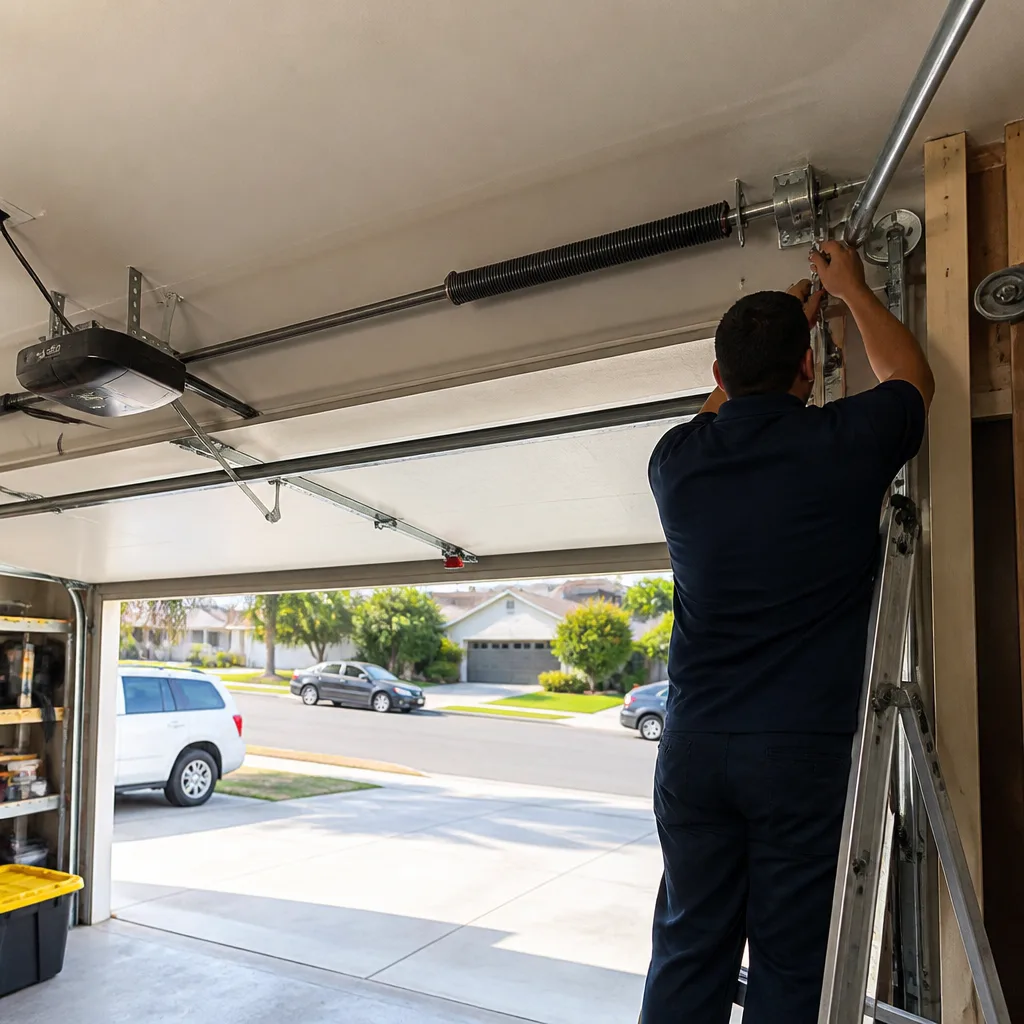 After
After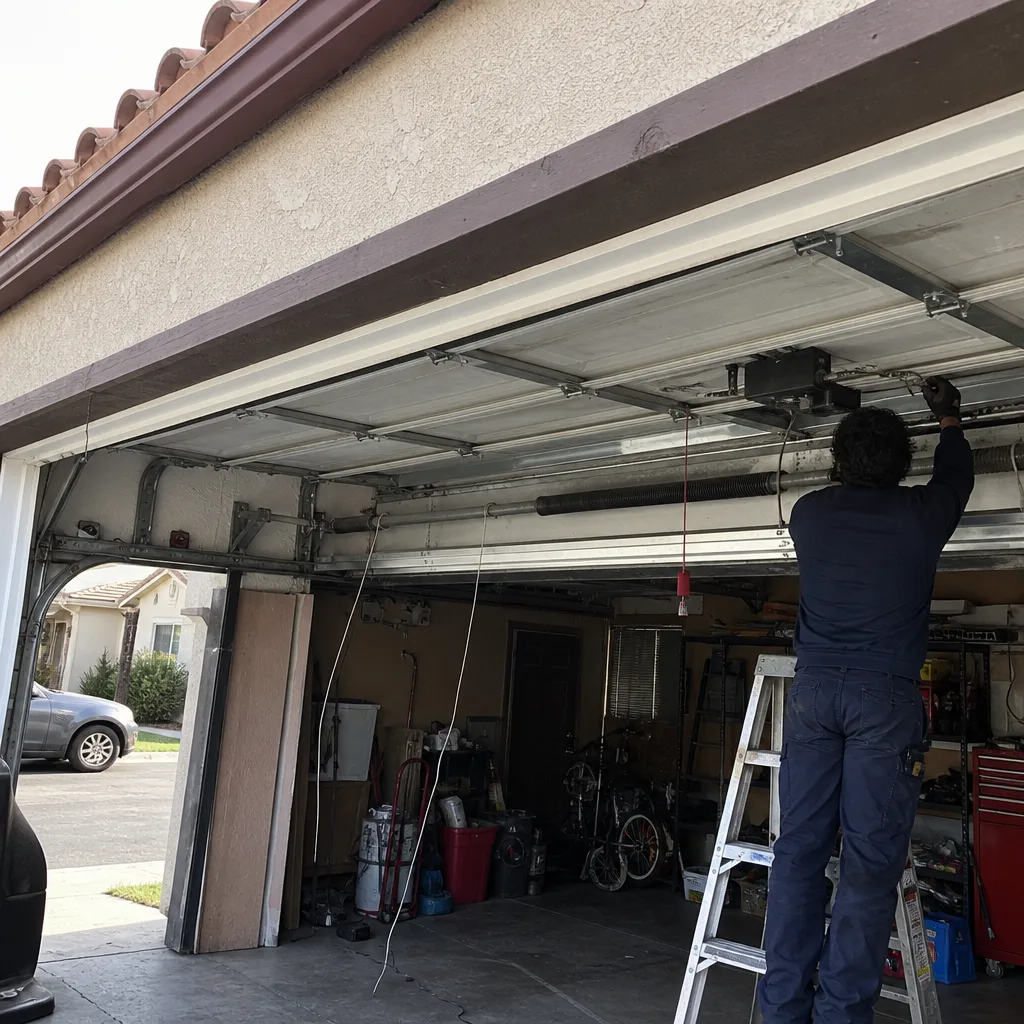 Before
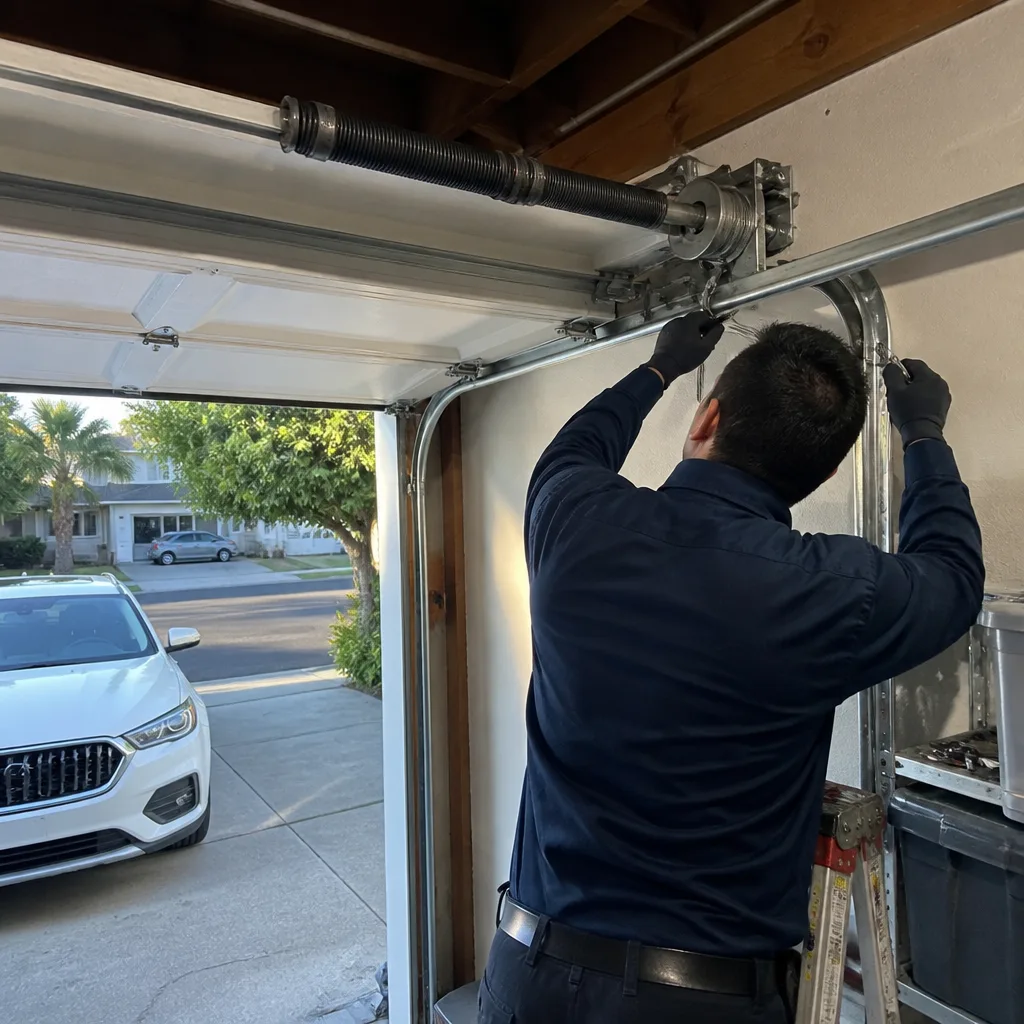 After
After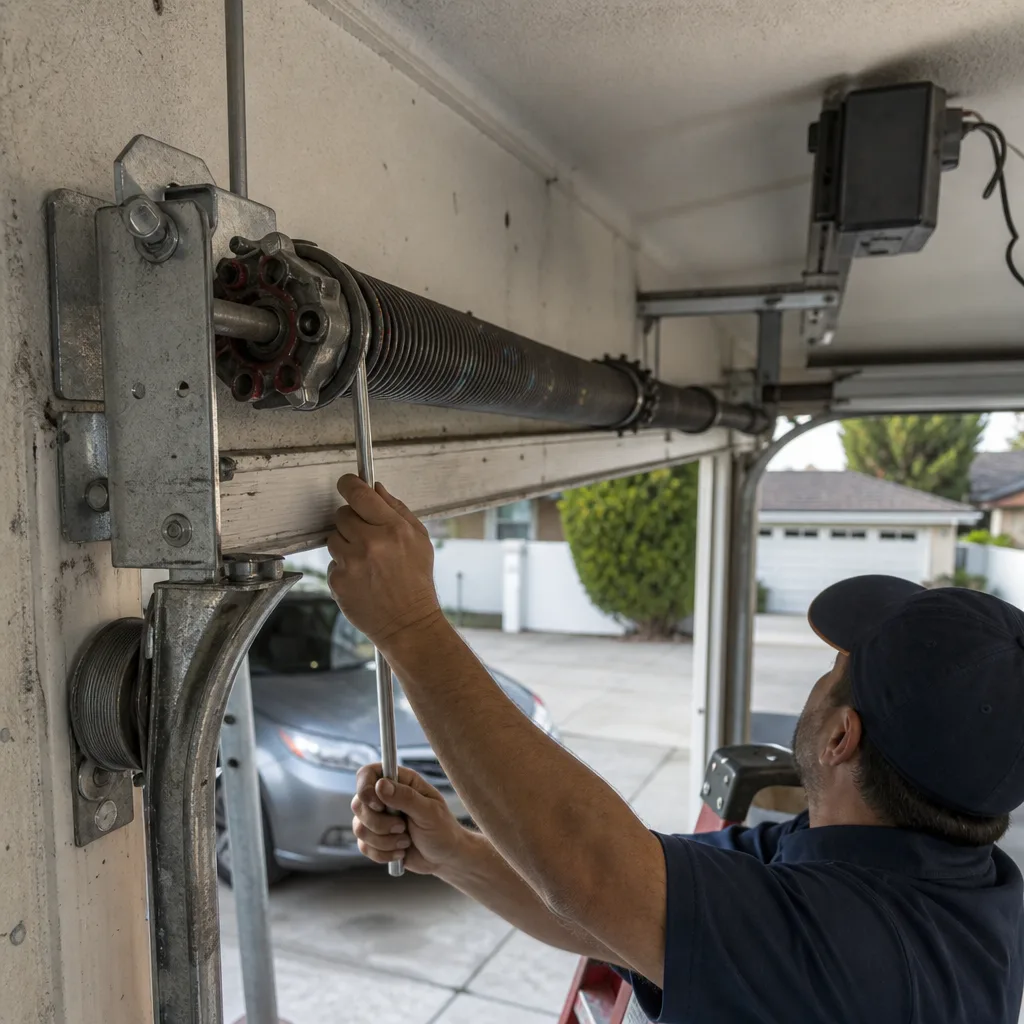 Before
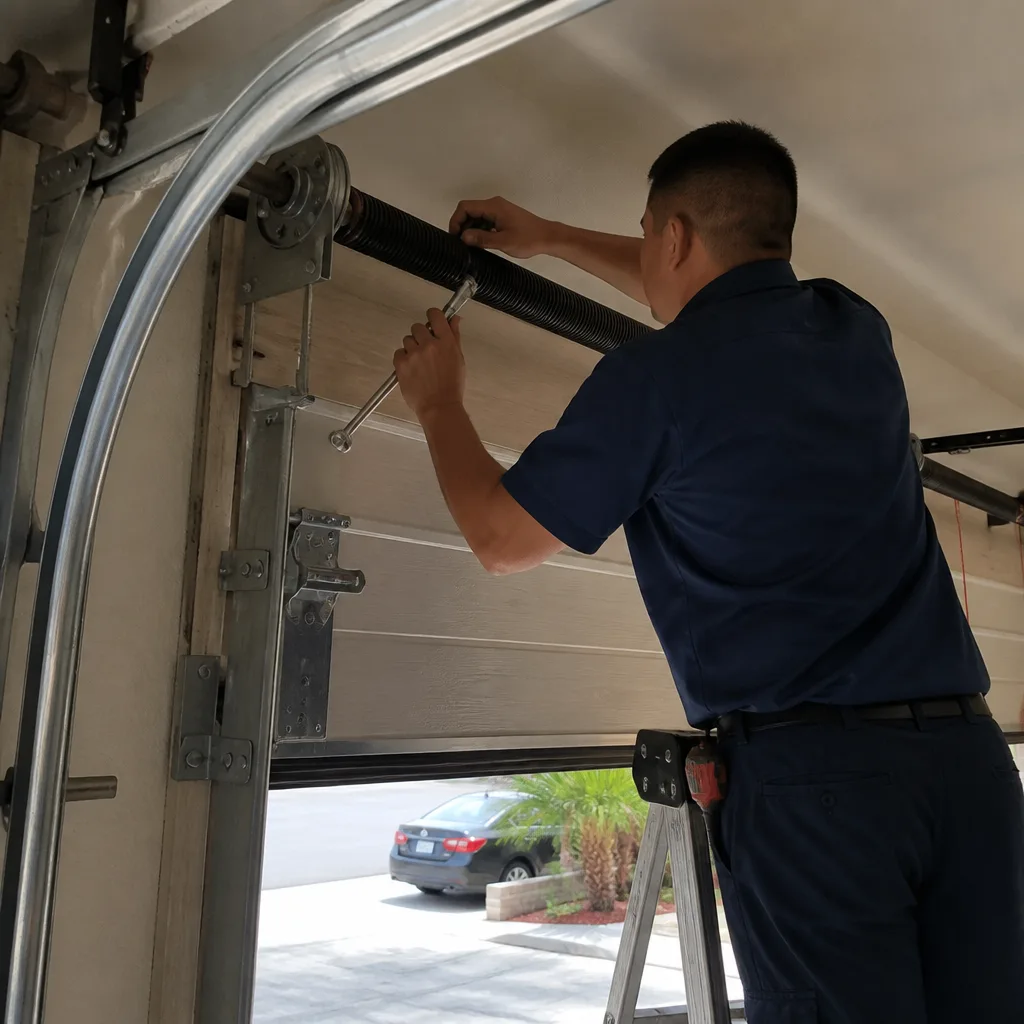 After
AfterDIY vs Professional Garage Door: The Santa Ana Homeowner’s Decision Guide
A torsion spring on a standard two-car garage door stores between 100 and 300 foot-pounds of torque when fully wound. That is enough stored energy to break a forearm, remove fingers, or worse if the winding bar slips. The question for Santa Ana homeowners is not whether they can learn to replace one from a video. The question is whether the risk profile of the task matches the reward. This guide draws a precise line between what is safe to do yourself, what is not, and what it costs either way, including for homeowners in neighborhoods from Floral Park to French Park. For a detailed look at pricing, see our Garage Door Cost Breakdown: The Santa Ana Homeowner’s Reference for 2026.
Quick Answer
Garage door work splits into two clear categories: spring-and-cable components that store mechanical energy and should always be handled by a licensed professional, and non-tension components like weatherseal, rollers on secured doors, keypads, and lubrication that a careful Santa Ana homeowner can do themselves with $15 to $55 in parts and under 90 minutes of time. The DIY-versus-professional decision is not about skill level. It is about stored energy, the California liability context if something goes wrong, and whether the time-cost math justifies the savings.
Table of Contents
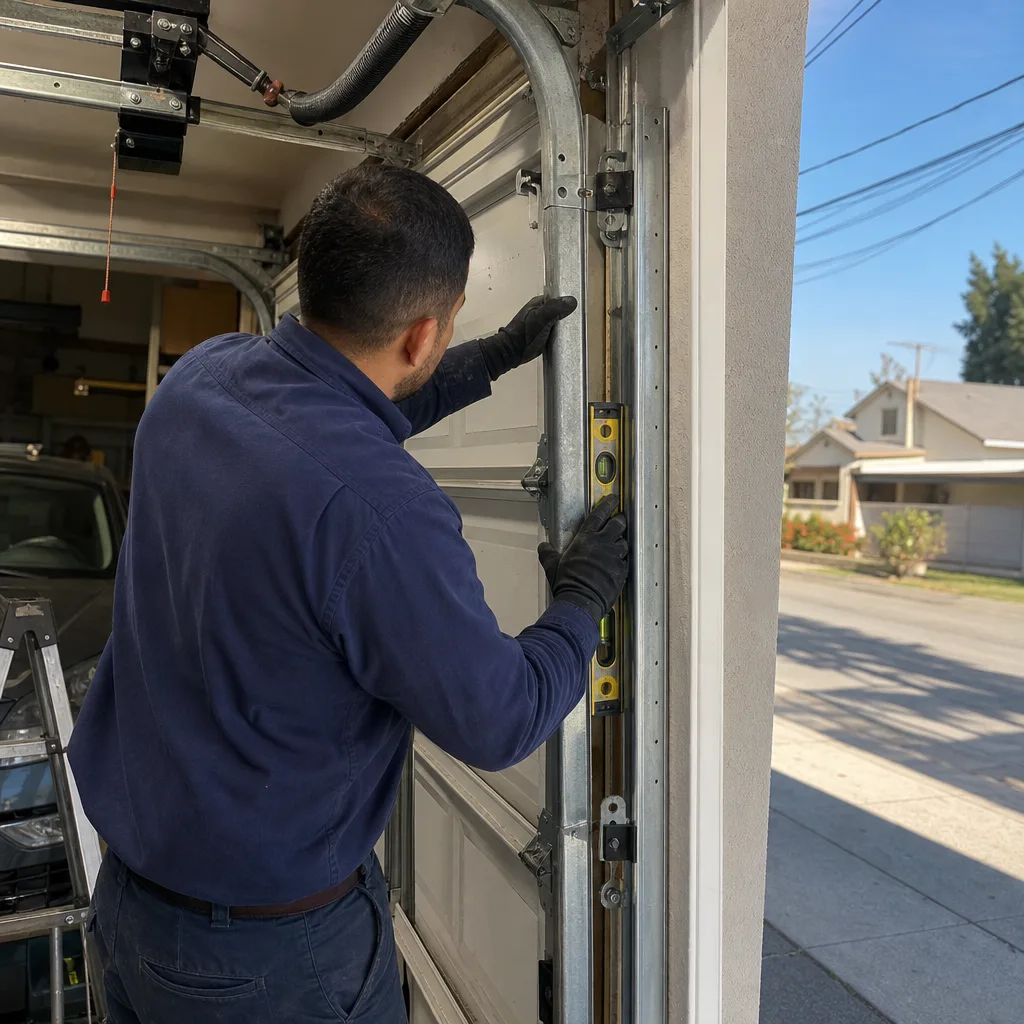
- The Stored Energy Line: What Separates DIY From Professional Work
- Components That Are Professional-Only, Regardless of Skill
- Tasks That Are Genuinely DIY-Appropriate in Santa Ana
- Time-Cost Analysis: When DIY Actually Saves Money
- The California Liability Context Homeowners Rarely Consider
- How to Document a DIY Repair Like a Professional Would
- Brand-Specific Notes: LiftMaster, Chamberlain, and Genie in Santa Ana Homes
BeforeAfterThe Stored Energy Line: What Separates DIY From Professional Work
Every garage door has two systems. The first is structural: panels, hinges, rollers, track, and weatherseal. These parts carry the weight of the door but none of its stored energy when the door is at rest. The second is the counterbalance system: torsion springs, extension springs, cables, cable drums, and bottom brackets. These parts are under constant tension even when the door is closed, because their job is to offset the 130 to 250 pounds a typical sectional door weighs.
The line between DIY and professional work sits exactly here. If a component carries stored mechanical energy, a mistake during repair releases that energy at once. There is no gradual failure mode on a torsion spring. The spring either holds the torque or it lets go. A homeowner in Santa Ana working in a garage that regularly reaches 95 degrees in August is working in conditions where sweat, fatigue, and hurried work are real factors, and every one of them increases the risk on a job that already has no margin for procedural error.
We have seen torsion springs in Washington Square homes that snapped at the coil and tore through drywall. We have also seen doors where the spring simply unwound and left the door heavy but stable. The first case is a repair call. The second is a temptation for DIY work, which is why understanding the difference between a broken spring and a de-tensioned spring matters before anyone picks up a tool.
Anything on the structural side is fair game for a careful homeowner. Anything on the counterbalance side is not. The distinction is not about who is capable. It is about which components can injure someone when a single step goes wrong.
Components That Are Professional-Only, Regardless of Skill
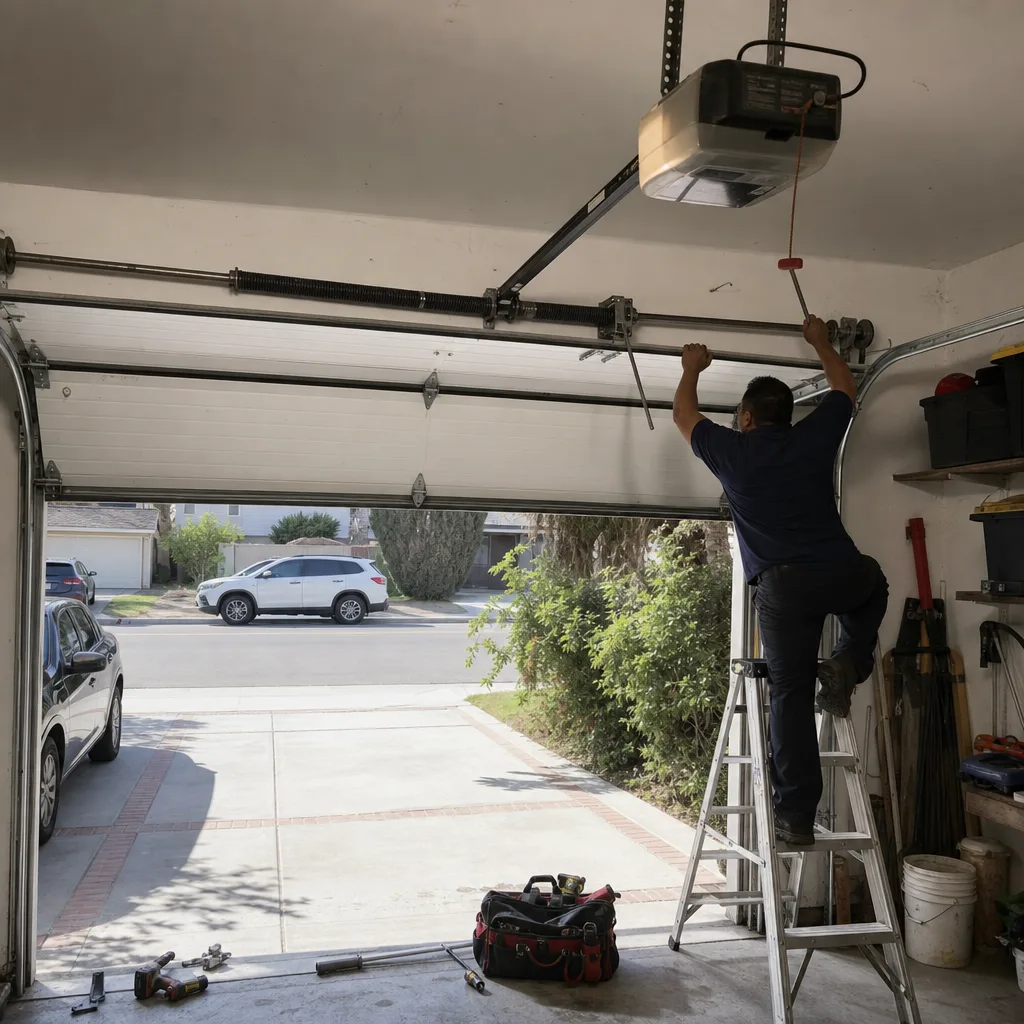
This list is not negotiable. A homeowner with intermediate mechanical ability and a full tool chest should still not attempt these tasks. The issue is not competence. The issue is that each of these components is under load during the procedure, and the consequences of an error are immediate, non-recoverable, and potentially severe.
Torsion Spring Winding and Replacement
The torsion spring sits on a shaft above the door opening. When wound, it stores the torque that lifts most of the door’s weight. Replacing one means unwinding the old spring (if it is not already broken), installing a new spring matched to door weight and height, and winding it to the correct number of quarter-turns. The winding process uses two steel bars inserted into the winding cone. If one bar slips while the spring is under partial tension, the stored torque transfers to the bar and the hand holding it. There is no safe way to pause halfway through a wind and restart. The spring is either at tension or it is not.
Cable Drum Adjustment
The lift cables run from the bottom brackets up to drums on each end of the torsion shaft. The drums guide the cable into a groove so the door lifts evenly. If a cable has jumped the drum or the drum has slipped, the door rises crooked or binds in the track. Adjusting the drum requires the spring tension to be released or partially managed, and the cable itself is under the weight of the door the entire time. A cable that lets go while someone is working near it is a lashing hazard.
Bottom Bracket Replacement
The bottom brackets connect the lift cables to the bottom corners of the door. They are chronically under cable tension because the cable pulls against them whenever the door moves and even when it is at rest. To replace a broken bottom bracket, the cable tension must first be released at the spring, not at the bracket. Homeowners who attempt this by loosening the bracket bolts first discover why that sequence matters: the bracket becomes a projectile when the cable is still loaded. This is professional-only work in the same way the spring is.
Any Work Requiring Door Disassembly Under Load
This includes replacing a panel on a section that carries a hinge supporting the weight of sections below it, removing a door section while the spring is still connected, or re-hanging a door that has come off its track under spring tension. If the door must be partially disassembled while any cable or spring is active, that job belongs to a technician with the tools and training to manage the load safely. In our experience in Santa Ana, doors that have come off the track during a seismic event or a vehicle impact are the most common examples, and the temptation to push them back into place by hand is exactly the wrong response. Garage Door Repair in Santa Ana calls involving off-track doors typically require releasing the spring first, reseating the rollers, and re-tensioning the system in the correct order.
Safety Note
If you are reading this section because your door currently has a broken torsion spring, a frayed cable, or a loose bottom bracket, close the door if it will still move and leave it alone. Do not operate the opener. Do not try to assist the door with your hands. A broken spring means the full weight of the door is now unassisted, and a standard opener cannot reliably hold it. Call a professional. This is not an upsell; it is the only safe sequence.
Tasks That Are Genuinely DIY-Appropriate in Santa Ana
Here is the other side of the line. These tasks involve components that carry no stored energy when the door is secured in the open position, and they are realistic for a homeowner who reads instructions and owns basic tools. In Santa Ana’s semi-arid climate, some of these tasks recur more often than they do in coastal parts of Orange County, because heat and dry air degrade rubber and nylon faster than moderate temperatures do.
Weatherseal Replacement
The rubber strip along the bottom of the door and the vinyl trim around the sides and top fail gradually. In Santa Ana’s summer heat, the rubber bottom seal hardens, cracks, and loses its ability to keep dust, leaves, and occasional monsoon-season moisture out of the garage. Replacement is a 30-to-60-minute job. The old seal slides out of the aluminum retainer channel, the new one slides in, and the job is done. No spring, no cable, no stored energy. The parts cost $15 to $40 at any Orange County hardware store or online.
Roller Replacement on Extension-Spring Doors After the Door Is Secured Open
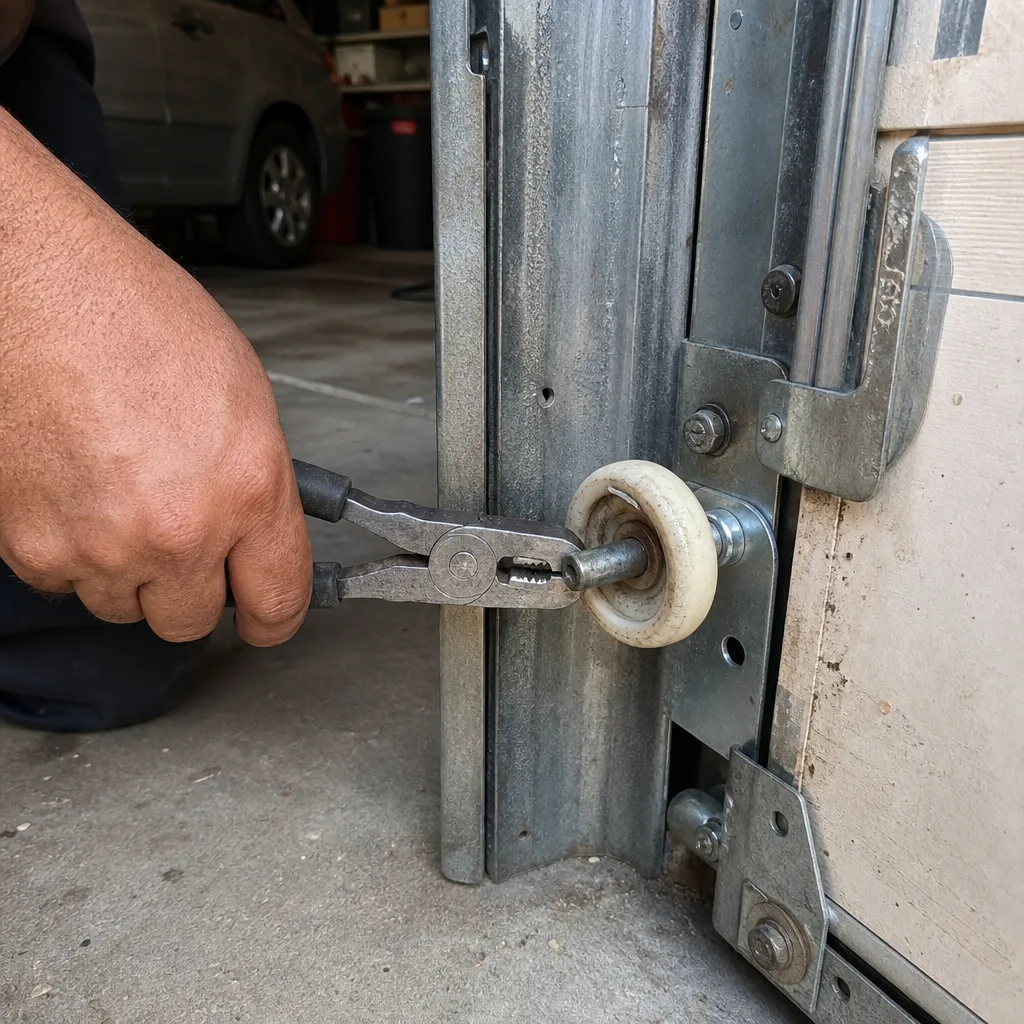
This is the most commonly misunderstood DIY task. On a door with an extension-spring system, the springs run along the horizontal track on each side. There is a correct sequence here, and it matters: raise the door fully, clamp the track with locking pliers or c-clamps just below the bottom roller on both sides, and only then remove and replace rollers. The clamps prevent the door from sliding down while the roller is out. Skip the clamps, and the door can move. With the clamps in place, roller replacement takes 45 to 90 minutes and costs $25 to $55 for a set of nylon rollers, depending on the bearing count. This is the single best DIY value on a garage door.
Exterior Keypad Replacement
Universal keypads from LiftMaster, Chamberlain, or Genie mount outside the door jamb and pair with most openers made after 1993. The job is mechanical only: remove the old keypad, mount the new one, program it to the opener per the included instructions, set a PIN. No tension, no moving door parts, no danger. A Santa Ana homeowner can do this in 20 minutes with a screwdriver and a ladder. The keypad itself costs $30 to $70.
Lubrication of Hinges and Roller Stems
Twice a year, a thin coat of white lithium grease on the hinge pivot points and a silicone-based spray on the roller stems keeps a door operating quietly and extends the life of those parts. This is a 15-minute task that requires no disassembly, no tension release, and no special tools. In Santa Ana’s dry, dusty conditions, lubrication also helps prevent the fine particulate that settles into garage hinges from accelerating wear.
Time-Cost Analysis: When DIY Actually Saves Money
The honest answer from a garage door company in Santa Ana is that some DIY tasks save real money and some save almost nothing once time is priced at even a modest hourly rate. Here is the arithmetic on the genuinely DIY-appropriate tasks, using current Orange County market ranges for parts and professional labor.
Cost Comparison Table
| Task | DIY Time | DIY Parts Cost | Professional Cost (Santa Ana) | Net Savings |
|---|---|---|---|---|
| Weatherseal replacement | 30-60 minutes | $15-$40 | $85-$160 | $45-$130 |
| Roller replacement (extension spring, door secured) | 45-90 minutes | $25-$55 | $120-$220 | $65-$195 |
| Exterior keypad replacement | 20-30 minutes | $30-$70 | $110-$180 | $40-$150 |
| Lubrication (twice yearly) | 15 minutes | $8-$15 | $60-$90 (as part of tune-up) | $45-$82 per visit |
The weatherseal and roller replacement numbers assume the homeowner already owns basic hand tools and locking pliers or c-clamps. If you need to buy the clamps, add $15 to $25 to the first roller job. Even with that, the savings are real. The keypad math is less compelling if you value your time at $50 an hour and it takes you 30 minutes to triple-check the programming instructions, but the job is simple enough that most people come out ahead.
What you will notice is that none of these tasks touch the spring-and-cable system. There is no savings figure high enough to justify a DIY torsion spring replacement, because the parts alone for a spring (matched to your door’s weight and height) run $60 to $180, and the consequence of a winding error is measured in hospital bills, not dollars. We do not offer a DIY price comparison for that work because there is no legitimate comparison to make.
The California Liability Context Homeowners Rarely Consider
California homeowners insurance is not a blank check for DIY work. Standard HO-3 policies in Orange County cover sudden and accidental damage, including injury to a household member or a visitor on your property. But coverage for injuries caused by work you performed yourself depends on whether the work was done in what insurers call a workmanlike manner, a standard most carriers interpret conservatively for high-tension mechanical work.
Here is the practical version. If a visitor is injured by a torsion spring a Santa Ana homeowner replaced themselves, the insurance carrier will look at how the work was done. Was the spring was wound with the correct number of quarter-turns for the door weight? Was the right wire diameter used? Does the homeowner have any documentation of the repair? If the answer to any of those is uncertain, the carrier has a strong argument that the work was not performed in a workmanlike manner, and the claim can be denied or reduced under the policy’s exclusion for faulty workmanship.
This is not a reason to avoid all DIY garage work. Replacing a weatherseal or a keypad carries essentially no liability exposure because those components do not fail catastrophically and do not cause injury when they fail. Replacing a torsion spring is the opposite: the failure mode is sudden, energetic, and directly attributable to the installation procedure. In our experience with Santa Ana homeowners in older neighborhoods like Wilshire Square and Park Santiago, most have never read the workmanship exclusions in their own policy until a claim is on the table. By then, the documentation question is already settled, and the absence of evidence works against the homeowner.
This is also why Clause 4 of The Haven Standard exists. We photograph the failed component before quoting a replacement, so the customer sees exactly what failed and why, and the photo record becomes part of the job file. A homeowner who documents their own DIY work the same way is building the same kind of evidence trail, and in the rare case of an insurance question, that documentation is the difference between a covered claim and a disputed one.
How to Document a DIY Repair Like a Professional Would
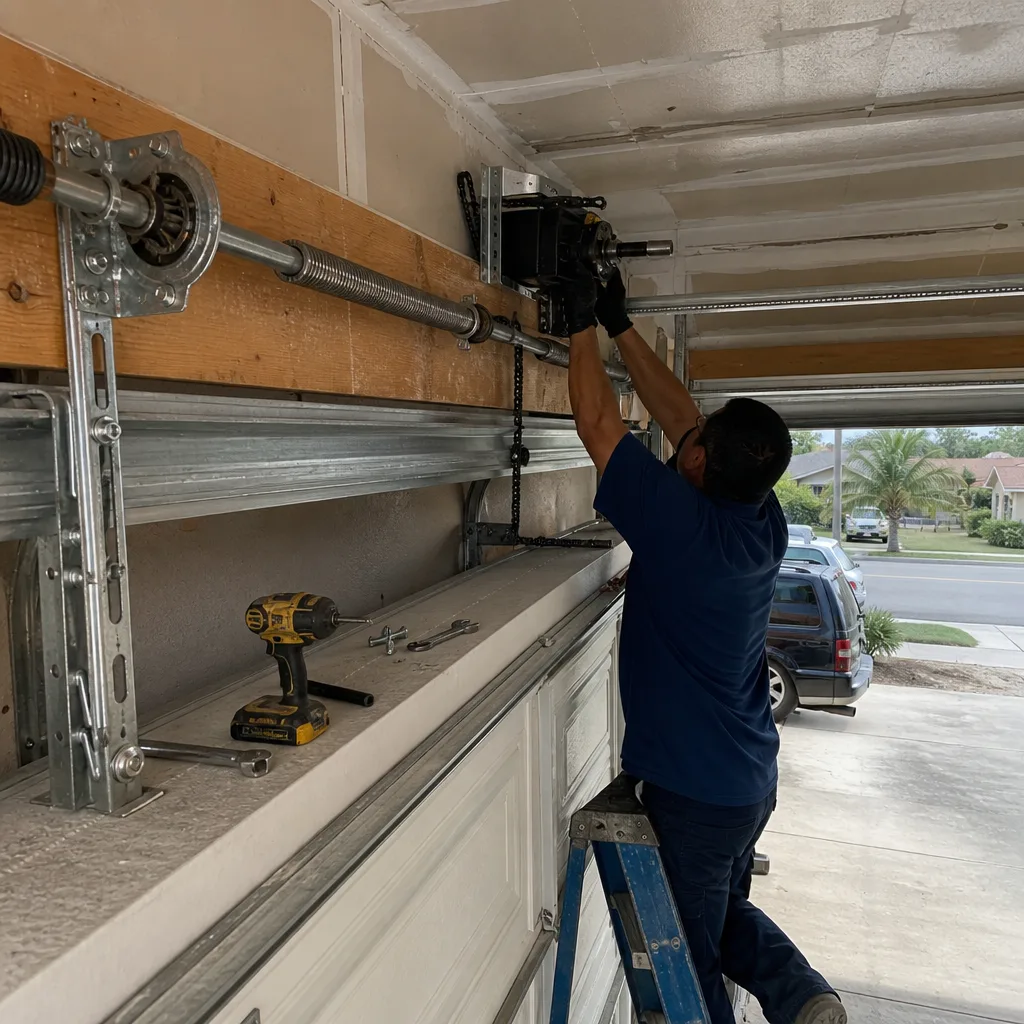
Documentation is not busywork. A date-stamped photo record of a DIY repair creates value in three directions: it proves the work was done if something fails later, it serves as a maintenance record at resale when a buyer asks about the garage door, and it gives any future technician a starting point instead of a mystery. This is the same philosophy behind the documented photo record Servo includes on every professional visit, and it costs a homeowner nothing but two extra minutes per task.
- Before photo. Photograph the component before touching anything. For weatherseal, show the cracked or hardened rubber in place. For rollers, show the worn roller still in its hinge. Date-stamp the photo if your phone does not do it automatically.
- Product photo. Photograph the replacement part in its packaging, showing the brand, model or part number, and specifications. If you are replacing rollers, the photo should show the bearing count or the package listing.
- During or mid-installation photo. For tasks where something is disassembled, take one photo midway. For weatherseal, this would be the old seal halfway out of the retainer. The goal is proof that the old part was actually removed, not just photographed and left.
- After photo. Photograph the completed installation from the same angle as the before photo. These two photos together tell the story of what changed.
- Store the set. Create a folder on your phone or computer named with the date and the task (e.g., 2026-03-14-weatherseal-replacement). If you sell the home, transfer the folder to the buyer as part of the garage door maintenance record.
This is a five-step process that takes under three minutes total. It is also exactly the kind of evidence an insurance adjuster looks for, and the kind of record that gives a buyer confidence in a Santa Ana home where the owner handled the low-risk maintenance properly and called professionals for the spring-and-cable system.
Brand-Specific Notes: LiftMaster, Chamberlain, and Genie in Santa Ana Homes
Most Santa Ana homes have an opener from one of three manufacturers: LiftMaster, Chamberlain, or Genie. The brand matters for DIY work in one specific way: replacement parts compatibility. Genuine parts from the brand of the opener fit without modification, and universal parts often require adapter brackets or carry load ratings that are slightly off from the original.
LiftMaster openers, common in newer Santa Ana construction from 2015 onward, use Security+ 2.0 technology for remotes and keypads, and the exterior keypad must be specifically compatible with that protocol. Chamberlain, LiftMaster’s consumer brand, shares many components with LiftMaster but at different price points, which is useful to know when replacing a remote or a safety sensor. Genie openers, common in homes from the 1990s and early 2000s, use a different carriage and rail design, and the most frequent maintenance item we see on Genie units in Santa Ana is the belt or chain tension, not the logic board.
For DIY purposes, the takeaway is straightforward: when buying a replacement keypad, remote, or safety sensor, buy the brand that matches the opener. The savings from a universal part evaporates when the universal part will not pair or requires a workaround that the instructions do not cover. For anything involving the opener’s logic board, trolley carriage, or limit switch, refer to Garage Door Opener Repair & Installation in Santa Ana, because opener internals involve both stored energy in the door’s spring system and electrical components that are best left to someone who works on them every week.
A Word From a Santa Ana Technician
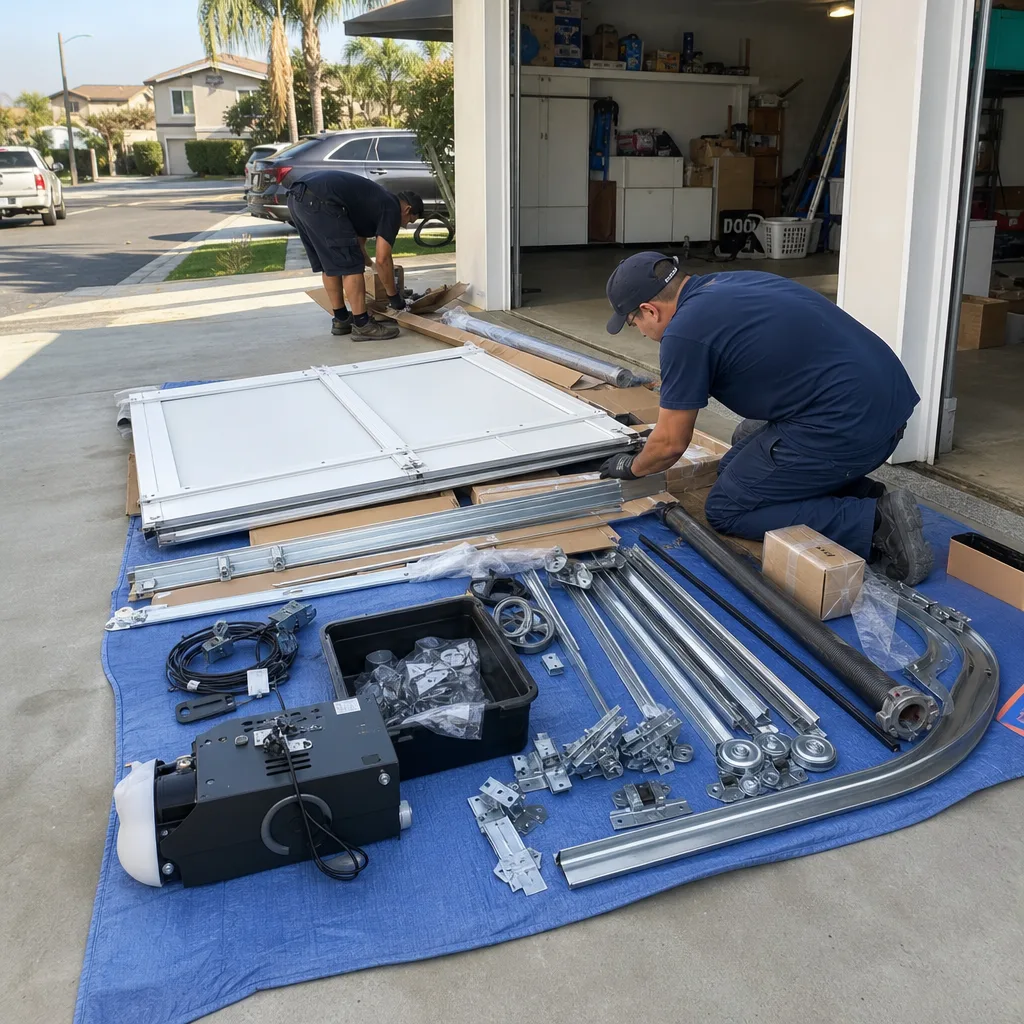
We work in Santa Ana garages every week, from the pre-war homes in Floral Park to the tract housing in the Westfield and Valley Adams areas. The garages vary: some are finished and conditioned, some are bare studs with a water heater in the corner. What does not vary is the physics. A torsion spring in a Floral Park garage built in 1938 stores the same foot-pounds of torque as a torsion spring in a 2021 build off Edinger Avenue. The geometry is older, the clearances are tighter, and the door might be a custom size no longer manufactured, but the stored energy does not care about any of that.
We have also seen what happens when a homeowner gets lucky on a spring replacement and what happens when they do not. Lucky looks like a spring that unwinds without incident and leaves the door dead on the floor. Unlucky looks like a winding bar through the sheetrock or a hand that will not open the same way again. The difference between the two is not skill. It is one moment of inattention or one misread instruction. That is the entire argument for the professional-only line, and it is why we draw it without apology.
For the low-risk work, we tell homeowners the same thing we would tell a friend: do the weatherseal yourself, replace the keypad yourself, lubricate the hinges twice a year, and save the spring-and-cable system for a licensed professional with the tools and the habit of doing it safely every single time. Servo Garage Doors Santa Ana home documentation on all of this is built on the same principle: written price before any work starts, photo record when the work is done, and no surprises in between.
Common Mistakes to Avoid
- Attempting a torsion spring replacement because “the video made it look simple.” The video does not show what happens when a winding bar slips on a spring with 250 foot-pounds of stored torque. In Santa Ana’s summer heat, sweaty hands make that slip more likely, not less.
- Using a universal opener remote instead of the brand-specific one. LiftMaster, Chamberlain, and Genie all use different protocols. A universal remote that works on a test bench in a warehouse may not pair cleanly with an opener that has been in a Santa Ana garage for eight years. Buy the matching brand.
- Skipping the track clamp on a roller replacement because “I’ll be quick.” The entire job takes 45 to 90 minutes, and the clamp step takes 30 seconds. The clamp is what keeps the door from sliding down while the roller is out. Skipping it is how a door winds up on the hood of a car in the driveway.
- Interpreting a broken spring as a door that is still “mostly working.” When a torsion spring snaps, the opener is suddenly lifting the full dead weight of the door, which it was never designed to do. Continued operation burns out the opener gear and risks the door falling. The repair stops being just a spring job and becomes a spring-and-opener job.
- Leaving a DIY repair undocumented. Most homeowners photograph their food and not their garage door maintenance. The five-step documentation process above builds a record that matters for insurance, resale, and any future service call. Photograph the work.
- Treating a cable that has jumped the drum as a cosmetic problem. A door that rises slightly crooked is a door with a cable situation, and cables under tension self-correct poorly. Continuing to operate the door chews the cable and stresses the spring asymmetrically. This is professional-only territory.
When to Call a Professional
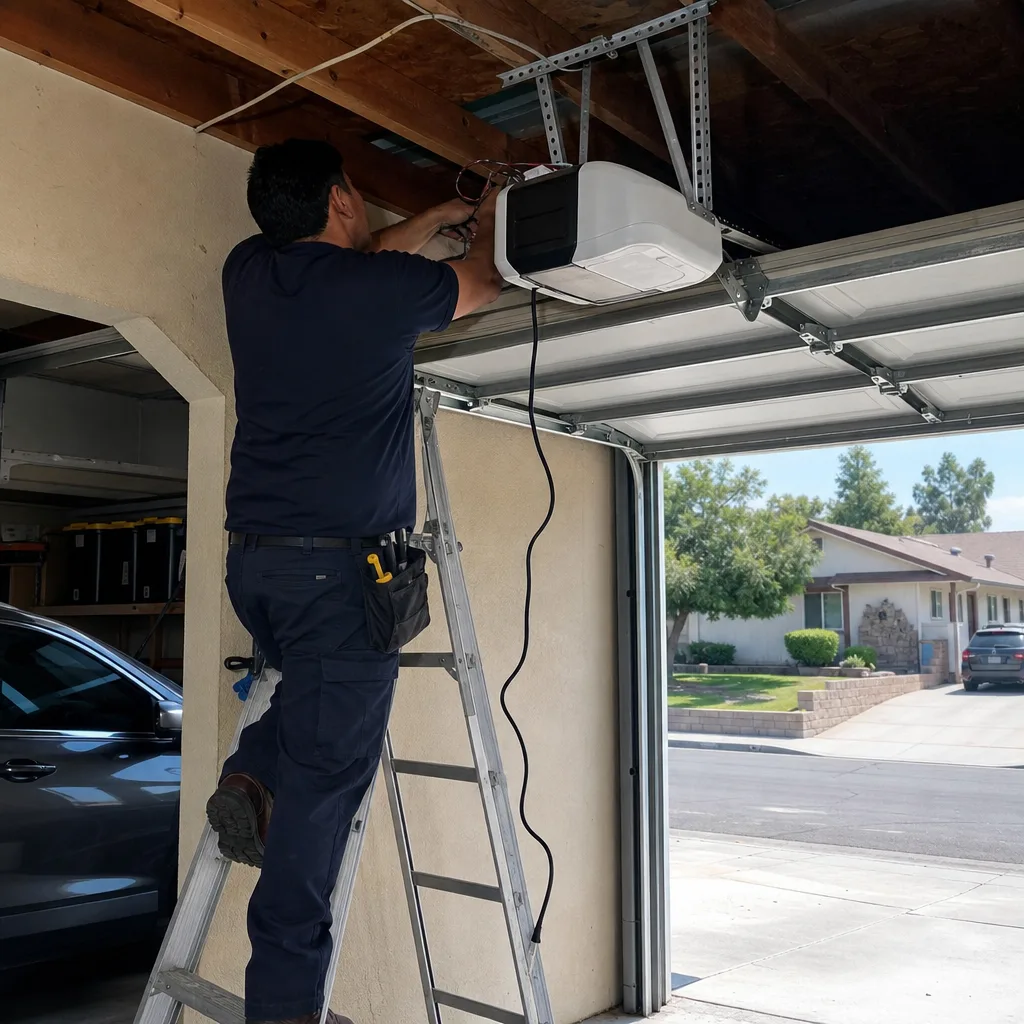
Call a professional when the component is on the spring-and-cable side of the line: broken or de-tensioned torsion spring, snapped or frayed lift cable, cable off the drum, bottom bracket failure, or any door that has come off its track while under spring tension. Call a professional when the door will not stay up, when it drops faster than it should while closing, or when the opener is straining against a door that suddenly feels heavier. These are not tune-up symptoms. They are load-path symptoms, and they indicate a spring that has failed or is failing.
Beyond emergencies, call a professional for any job where you want the documentation that comes with a written-price-first system. Every service visit from Servo Garage Doors Santa Ana includes a documented photo record of what was found and what was done, the price is written and agreed before work starts, and the work carries the 365-Day Done Right Promise. For a free estimate on spring repair, cable work, or Garage Door Installation in Santa Ana, call (949) 569-5253. We answer the phone with a live person, not a recording, and the estimate is free.
Frequently Asked Questions
Technically yes, and safely no. The spring is wound to 100 to 300 foot-pounds of torque, and a single procedural error during winding has no safe recovery point. This is professional-only work, not because homeowners cannot learn the procedure, but because the failure mode is immediate and severe. In Santa Ana, where summer garage temperatures routinely exceed 95 degrees, the working conditions make an already unforgiving task worse.
Weatherseal replacement, roller replacement on extension-spring doors after the door is secured open with locking pliers or c-clamps, exterior keypad replacement, and lubrication of hinges and roller stems. All four tasks involve components with no stored energy when the door is at rest or secured, and all four can be completed with under $70 in parts.
Spring replacement in Santa Ana typically ranges from $280 to $420 for a pair of torsion springs, including parts and labor, though exact pricing depends on the door’s weight, height, and spring wire diameter. A single extension spring runs $160 to $250 installed. Every Servo job is quoted as a flat, written price with a written scope before any work begins, per Clause 1 of The Haven Standard. Call (949) 569-5253 for an exact quote: estimates are free.
It depends on whether the work was done in what the carrier considers a workmanlike manner. Most insurers in California interpret that standard conservatively for high-tension mechanical work, and a DIY torsion spring replacement with no documentation gives the carrier a strong argument for denial. Low-risk DIY tasks like weatherseal replacement carry essentially no comparable exposure. Document your DIY work with date-stamped before-and-after photos, whether you ever file a claim or not.
Yes. Bring in a written estimate from any other garage door company, and Servo will provide a free second opinion with a flat, written price and a written scope of work. No coupon or code is required. The point is the paper trail: you should be able to compare apples to apples and see exactly what each company is quoting and why. Call (949) 569-5253 to schedule.
Stop operating the door, including with the opener. A broken spring means the door’s full weight is now unassisted, and continued operation risks damaging the opener and causing the door to drop. If the door is up, do not attempt to lower it by hand. Call Servo Garage Doors Santa Ana at (949) 569-5253. The phone is answered by a live person 24 hours a day, including holidays and weekends, and a named technician is dispatched with an on-the-way text, not a callback window.
The Bottom Line
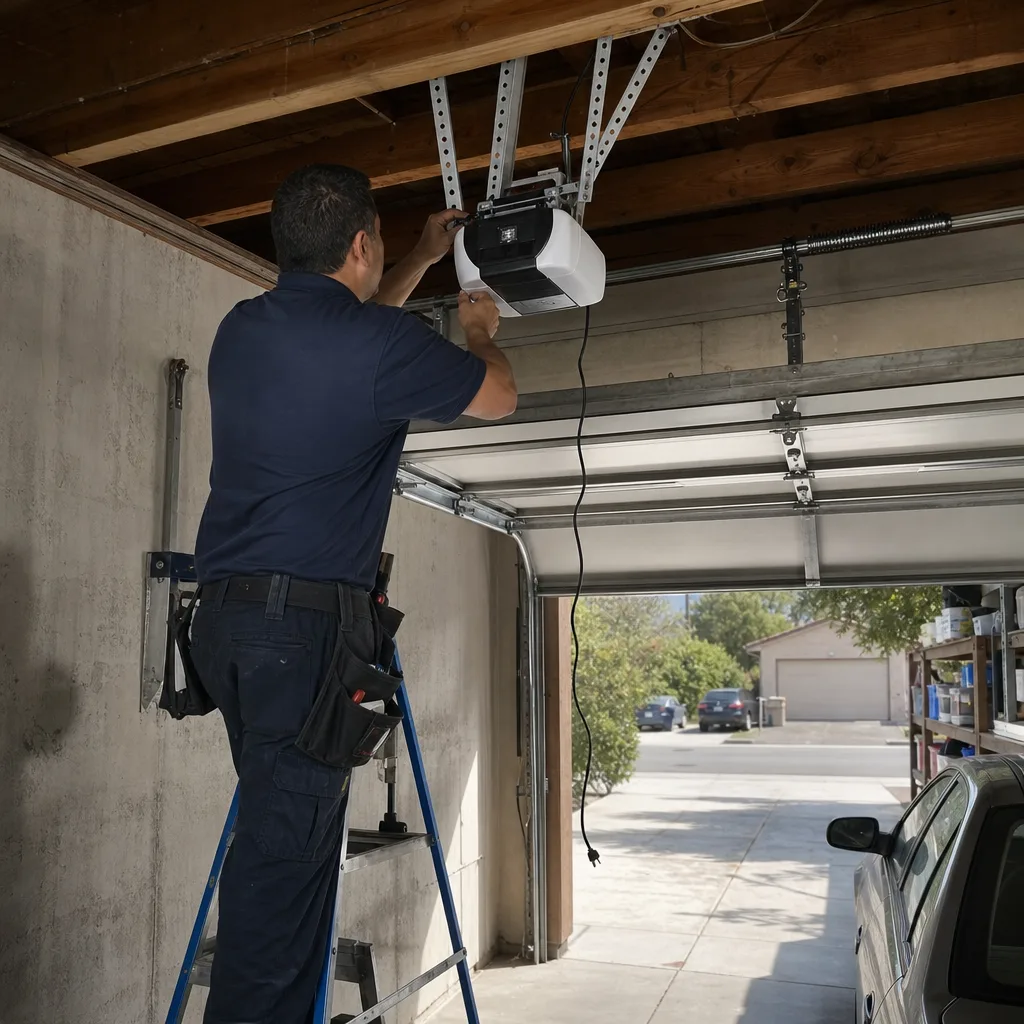
The DIY-versus-professional decision for garage doors in Santa Ana is not about how handy you are. It is about the stored energy line: spring-and-cable components are professional work, period, because the failure mode is immediate and the liability context in California is unforgiving. Everything else, the weatherseal, the keypad, the rollers on a secured door, the twice-yearly lubrication, is fair game for a careful homeowner with basic tools and $15 to $70 in parts. Document whatever you do, with before-and-after photos, because documentation is what separates a covered insurance claim from a denied one, and a well-maintained home from one with a mystery in the garage. When the job crosses the line, call a professional who writes the price down before touching anything, or browse our more guides & resources to keep learning. Call Servo Garage Doors Santa Ana at (949) 569-5253 for a free estimate.
Written by Marcus Deller, Owner at Servo Garage Doors Santa Ana, serving Santa Ana since 2015.